
Once you’ve got your first Hornby TT:120 set up and running, you might be thinking about where you can go from here. Luckily, we’re here to help!
A good place to start with creating a layout, is with some Hornby TT:120 track expansion packs. Create your layout loose on your baseboard. Once you are happy with your set-up, pin your track into place. Track pins go through holes in the middle of each track piece.
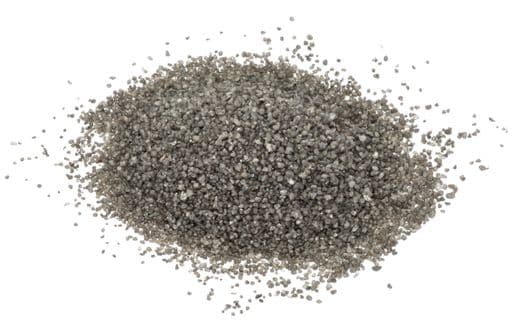
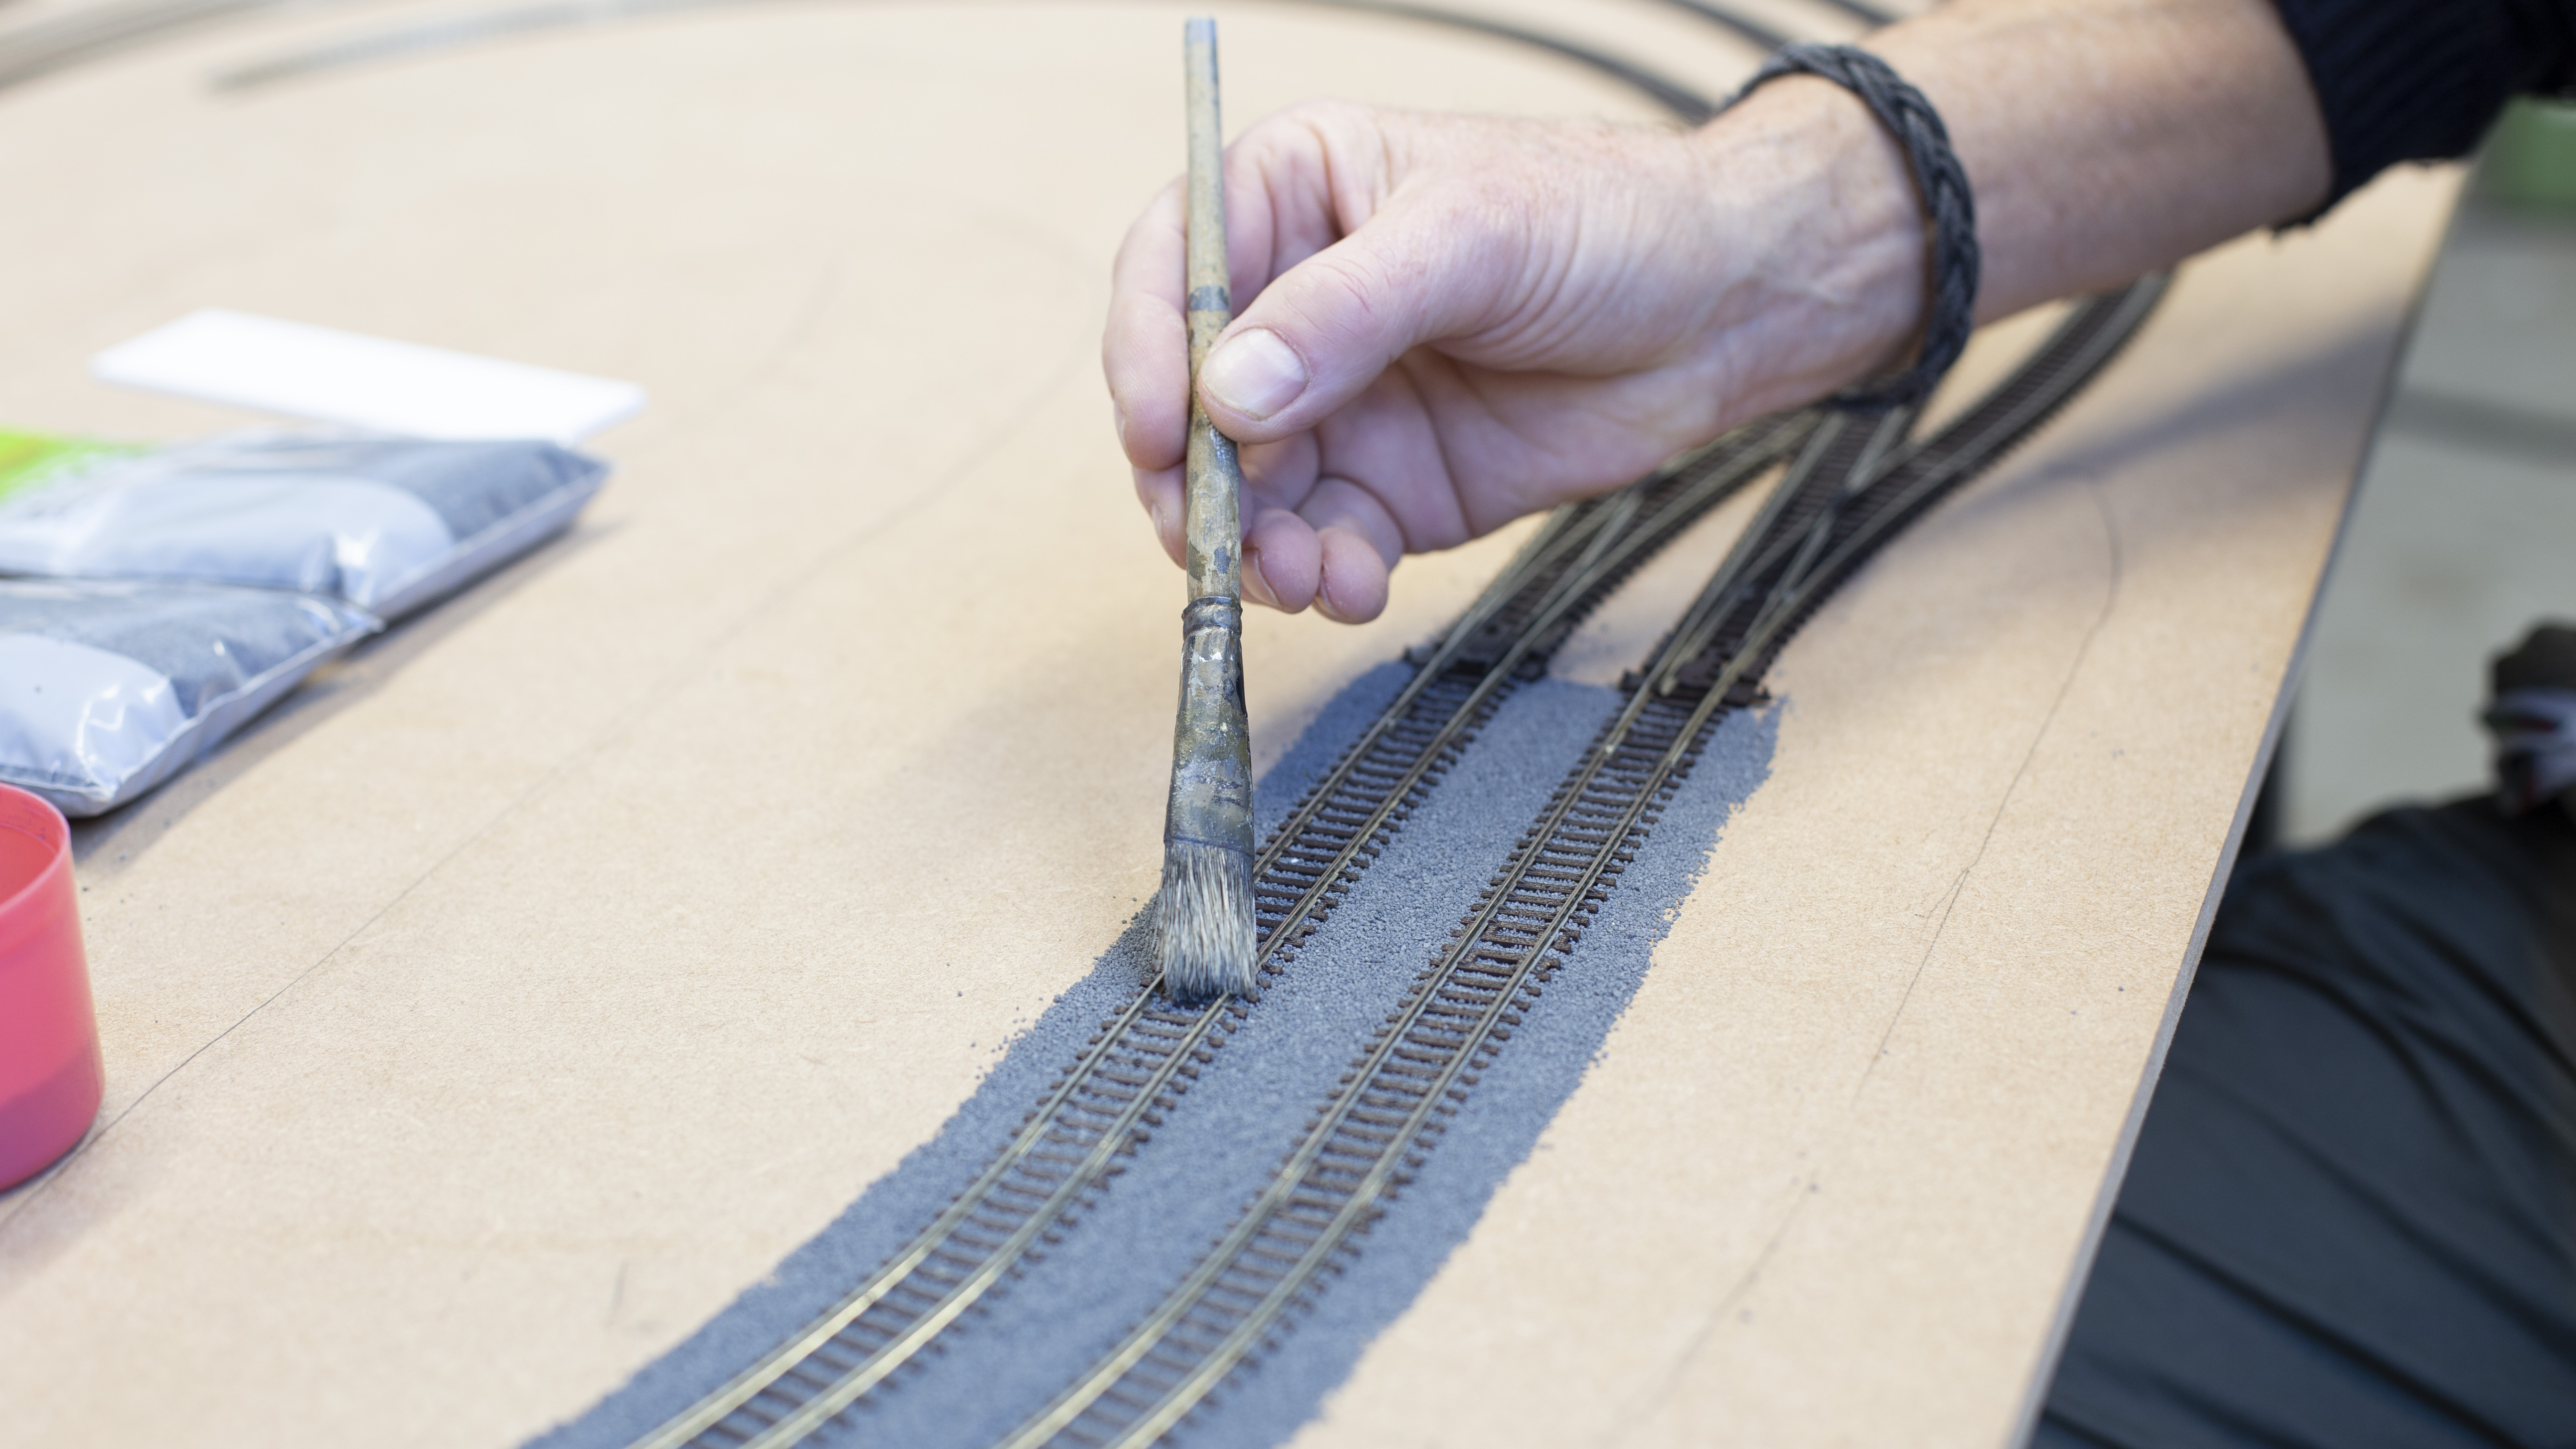
You can then make a mixture of PV wood glue and water – about 50% of each. Use a brush to paste this into the marked area and then sprinkle SkaleScenic ballast mixture over the top. Wait for it to dry and then tip off any loose ballast or use a dustpan and brush to sweep it off.
Top tip: pour the ballast on newspaper so you can collect it up to use again.
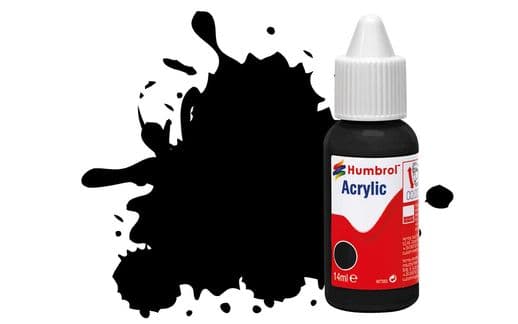
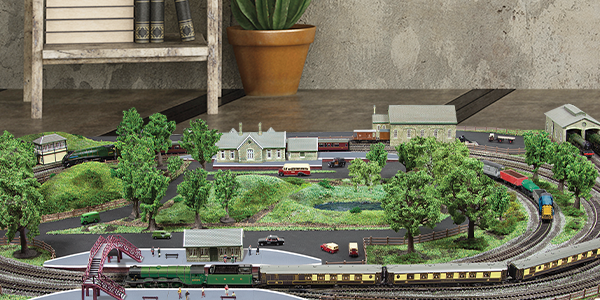
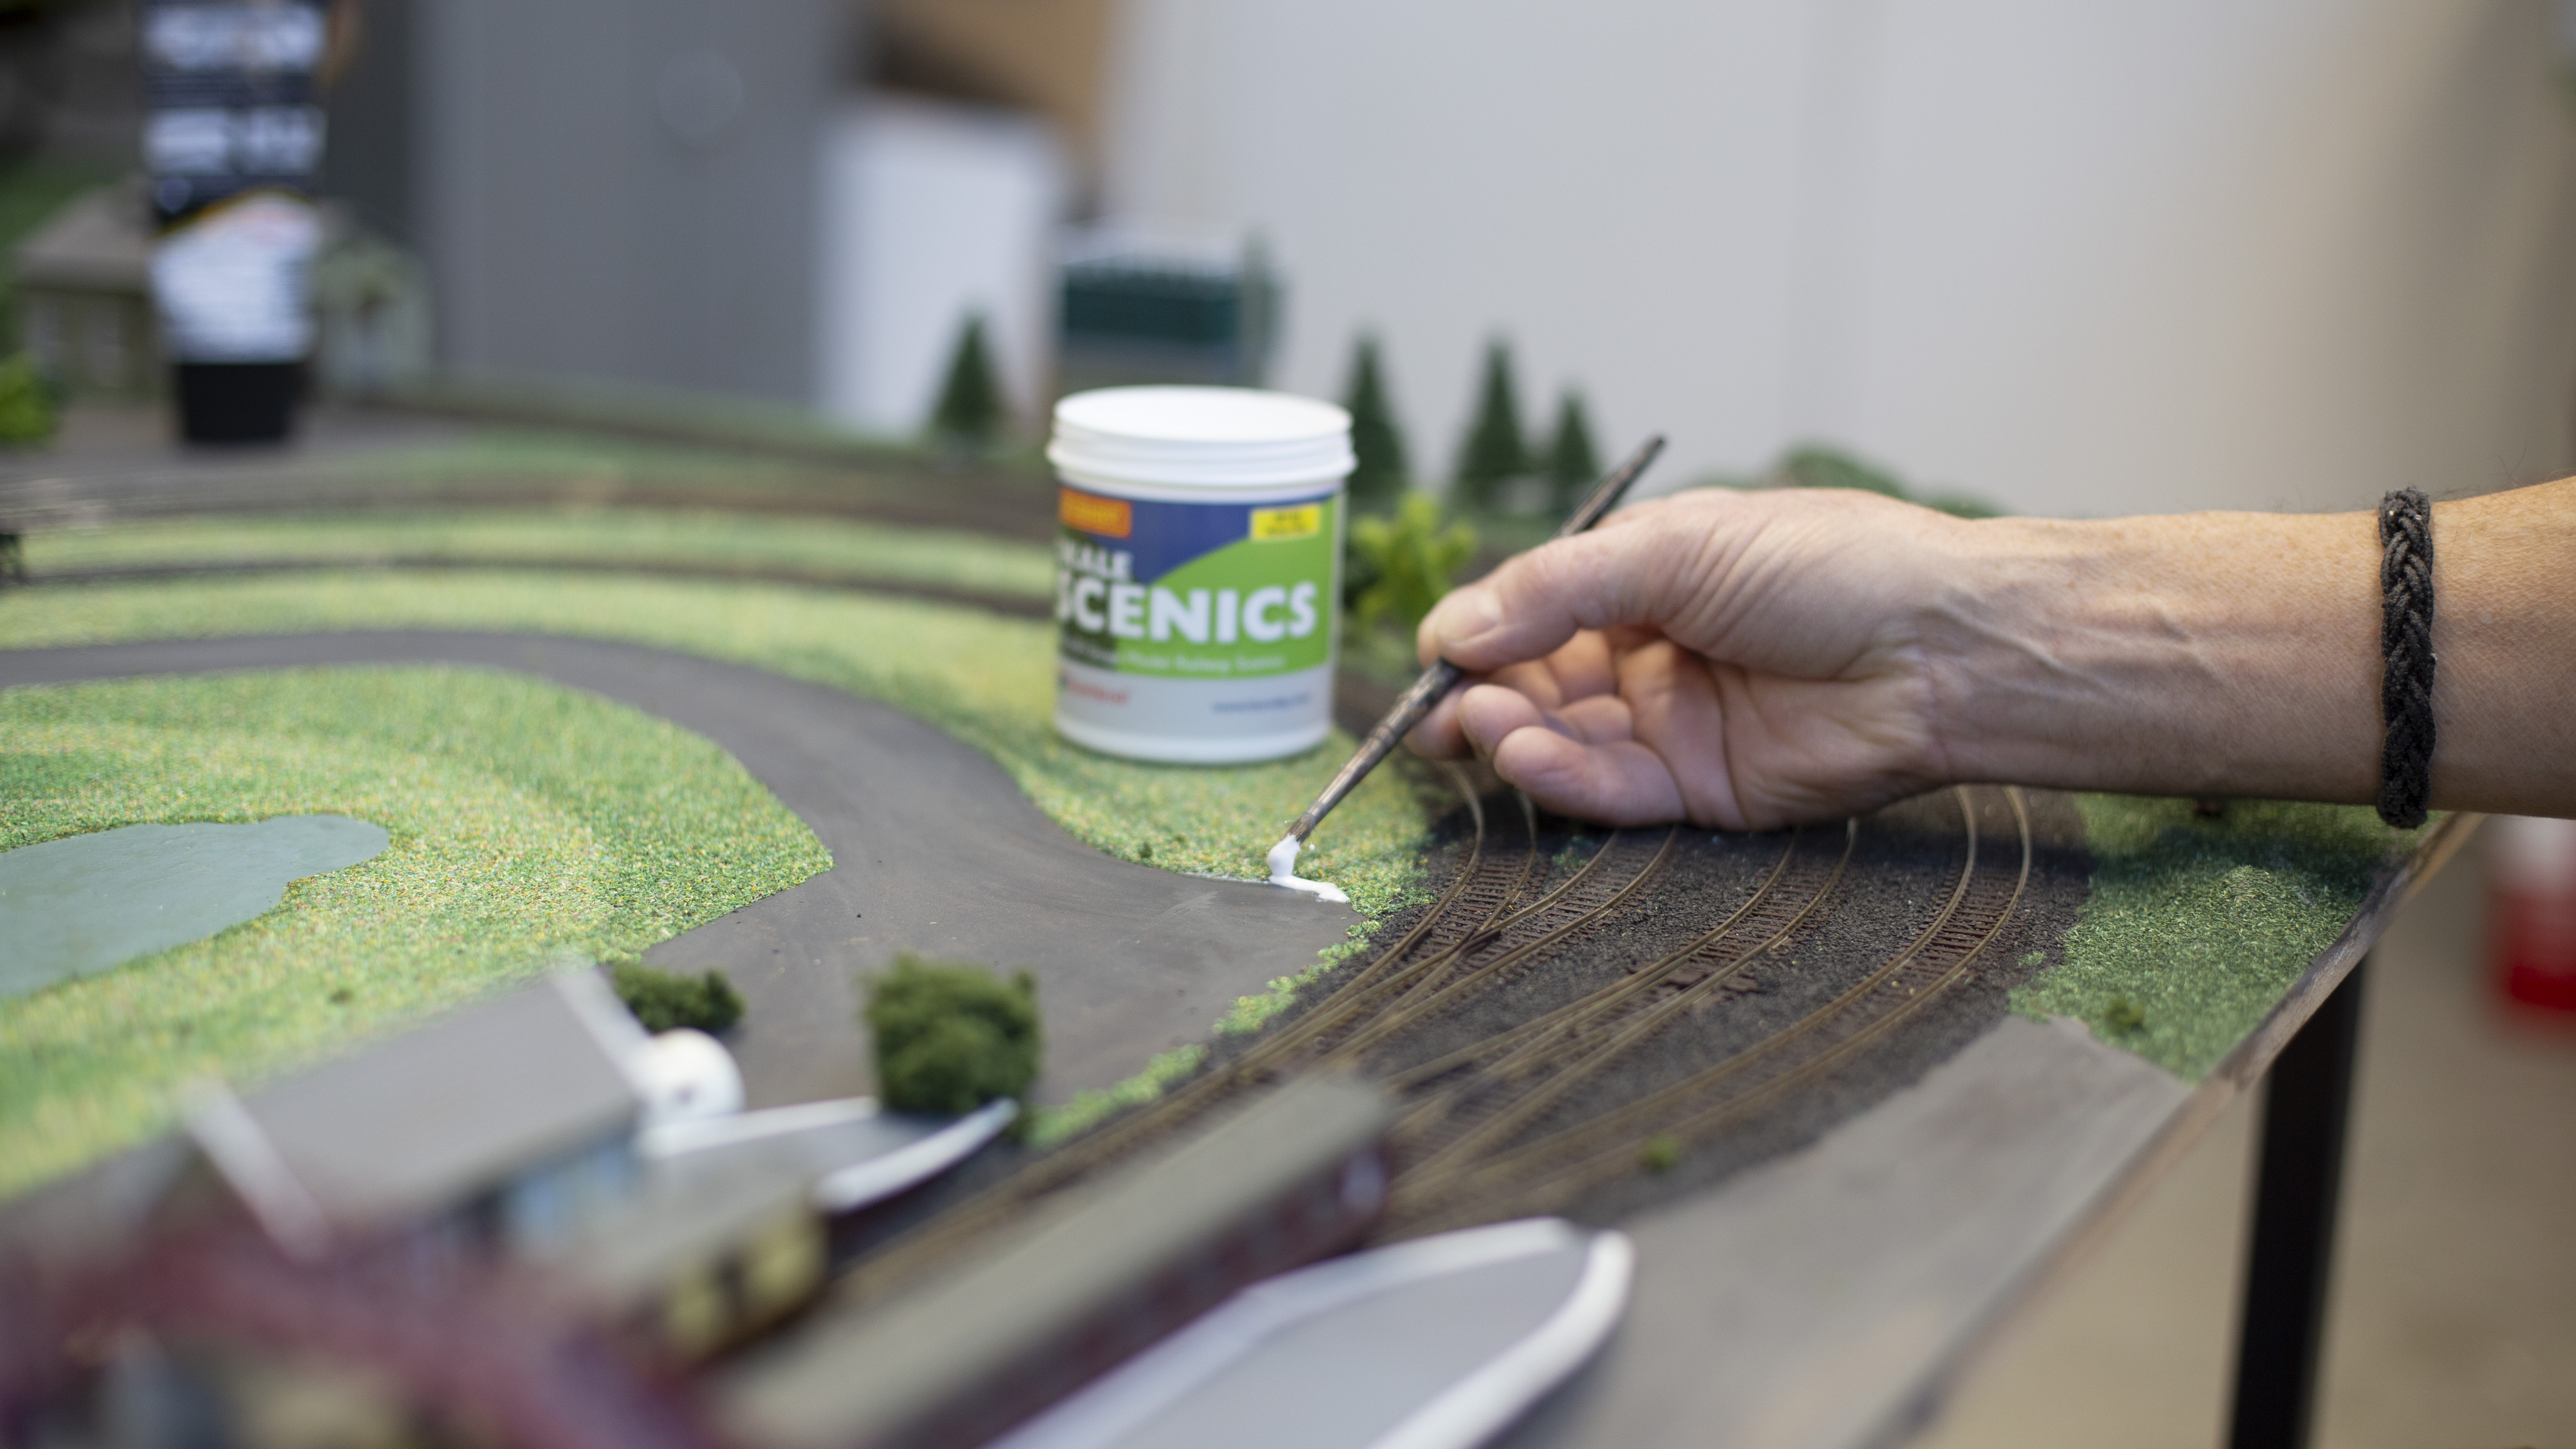
Start by painting your roads with some Humbrol black paint, mixed with a little water for best coverage. Let this dry and then you can start on your grassy areas.
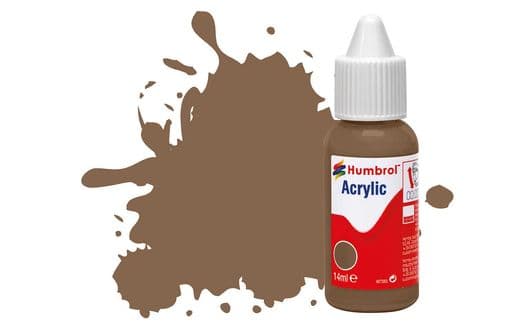
Mix a little brown paint into your PVA glue to give a realistic base to your natural scene. Paint the areas of the baseboard where you want your scenic material to go and then use a sieve to scatter this evenly. Add different colours and texture for depth and to make it look more realistic.
Only do small sections at a time, to ensure the glue doesn’t dry before you’ve finished adding your scattered scenic material. Once dry, remove the excess in the same way as you did for the ballast.
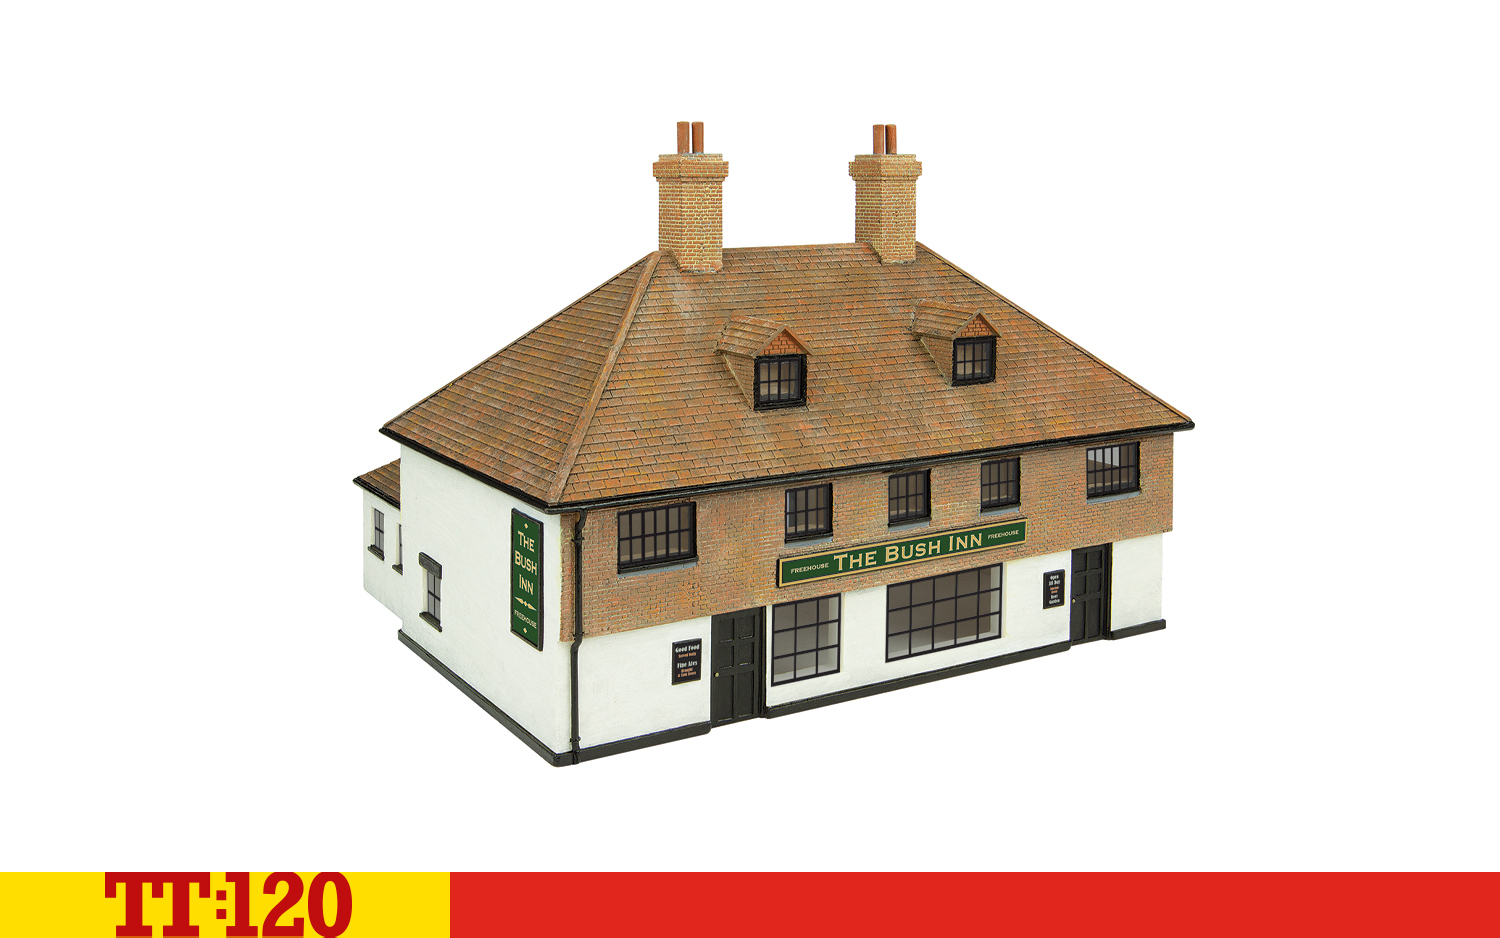
Our Skaledale models are great for helping you to build out your model village. They are easily glued into place, and you can also add walls and other scenic items like trees, lampposts and bushes. You can also make your own buildings if you are confident.
Adding people, animals and non-railway vehicles also helps to bring your scene to life. And of course, you’ll want to keep them all safe by adding a fence around the track. You’ll need to push the anchor points into the slots in the track and this will give you an even fence the whole way round.
Once your layout is ready, you can add your locomotives and rolling stock and get things moving. Your control system of choice will determine how things move.
Top tip: clean your track with a lint-free cloth dipped in methylated spirits to remove any dust or debris that might affect the running of your train.
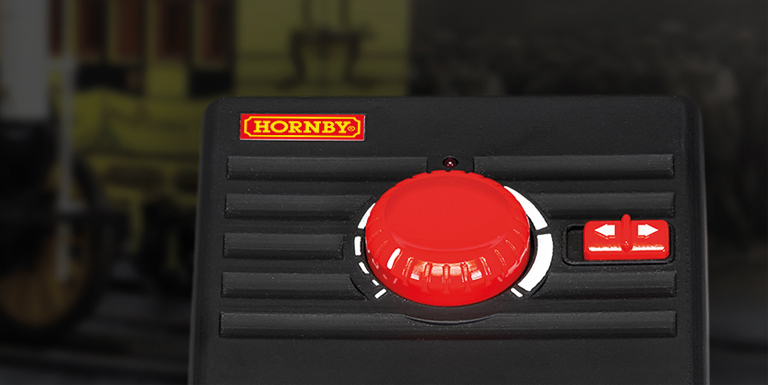
Analogue control is the cheapest, simplest option for locomotive control. All control comes through the track, so all models on the same track will move together, and you’ll have a little more wiring to tidy up underneath your baseboard. You can change the direction and speed of your trains using the wired controller.
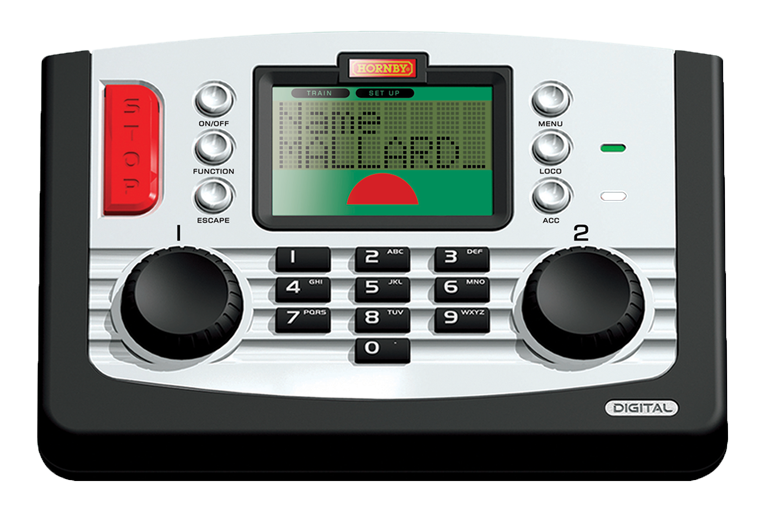
You don’t have to use a smart device to control your trains digitally. Our DCC controllers allow you to control multiple trains at once and offer more realistic movement with signals sent down the track.
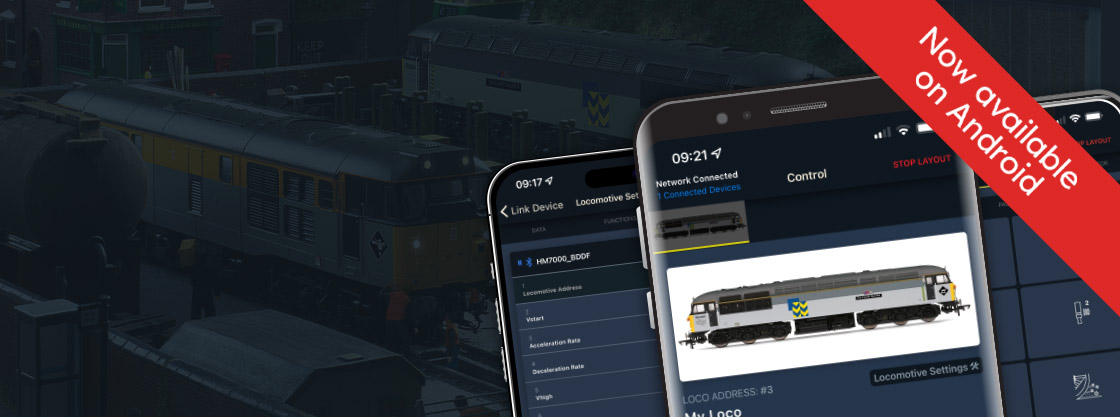
We recommend the HM7000 system as it makes use of Bluetooth technology. You get all the benefits of DCC control, without being tethered to a fixed point. To use HM7000, start by ensuring your locomotives have the correct decoder inside them. Some of our models come pre-loaded with a decoder, while others are DCC-ready, which means you’ll need to buy and insert the decoder yourself.
You can then download the free HM|DCC app on your smart phone or tablet. Connect to your locomotive by following the instructions in the app and you’ll open up a whole new world of model railway control.
Of course, your model railway efforts are never really complete. You can spend as much time as you want tweaking your layout, adding new models and adjusting the settings on your analogue or digital equipment. But the joy of any modelling hobby is in the journey, rather than the destination, so make the most of every minute.
If you need more help building your model railway world, check out our handy guide.