Intrigued by the idea of Hornby TT:120 but not sure where to start? This article gives you an easy-to-follow guide, so you can get your first model railway layout up and running.
There are a few things you’ll need to consider.
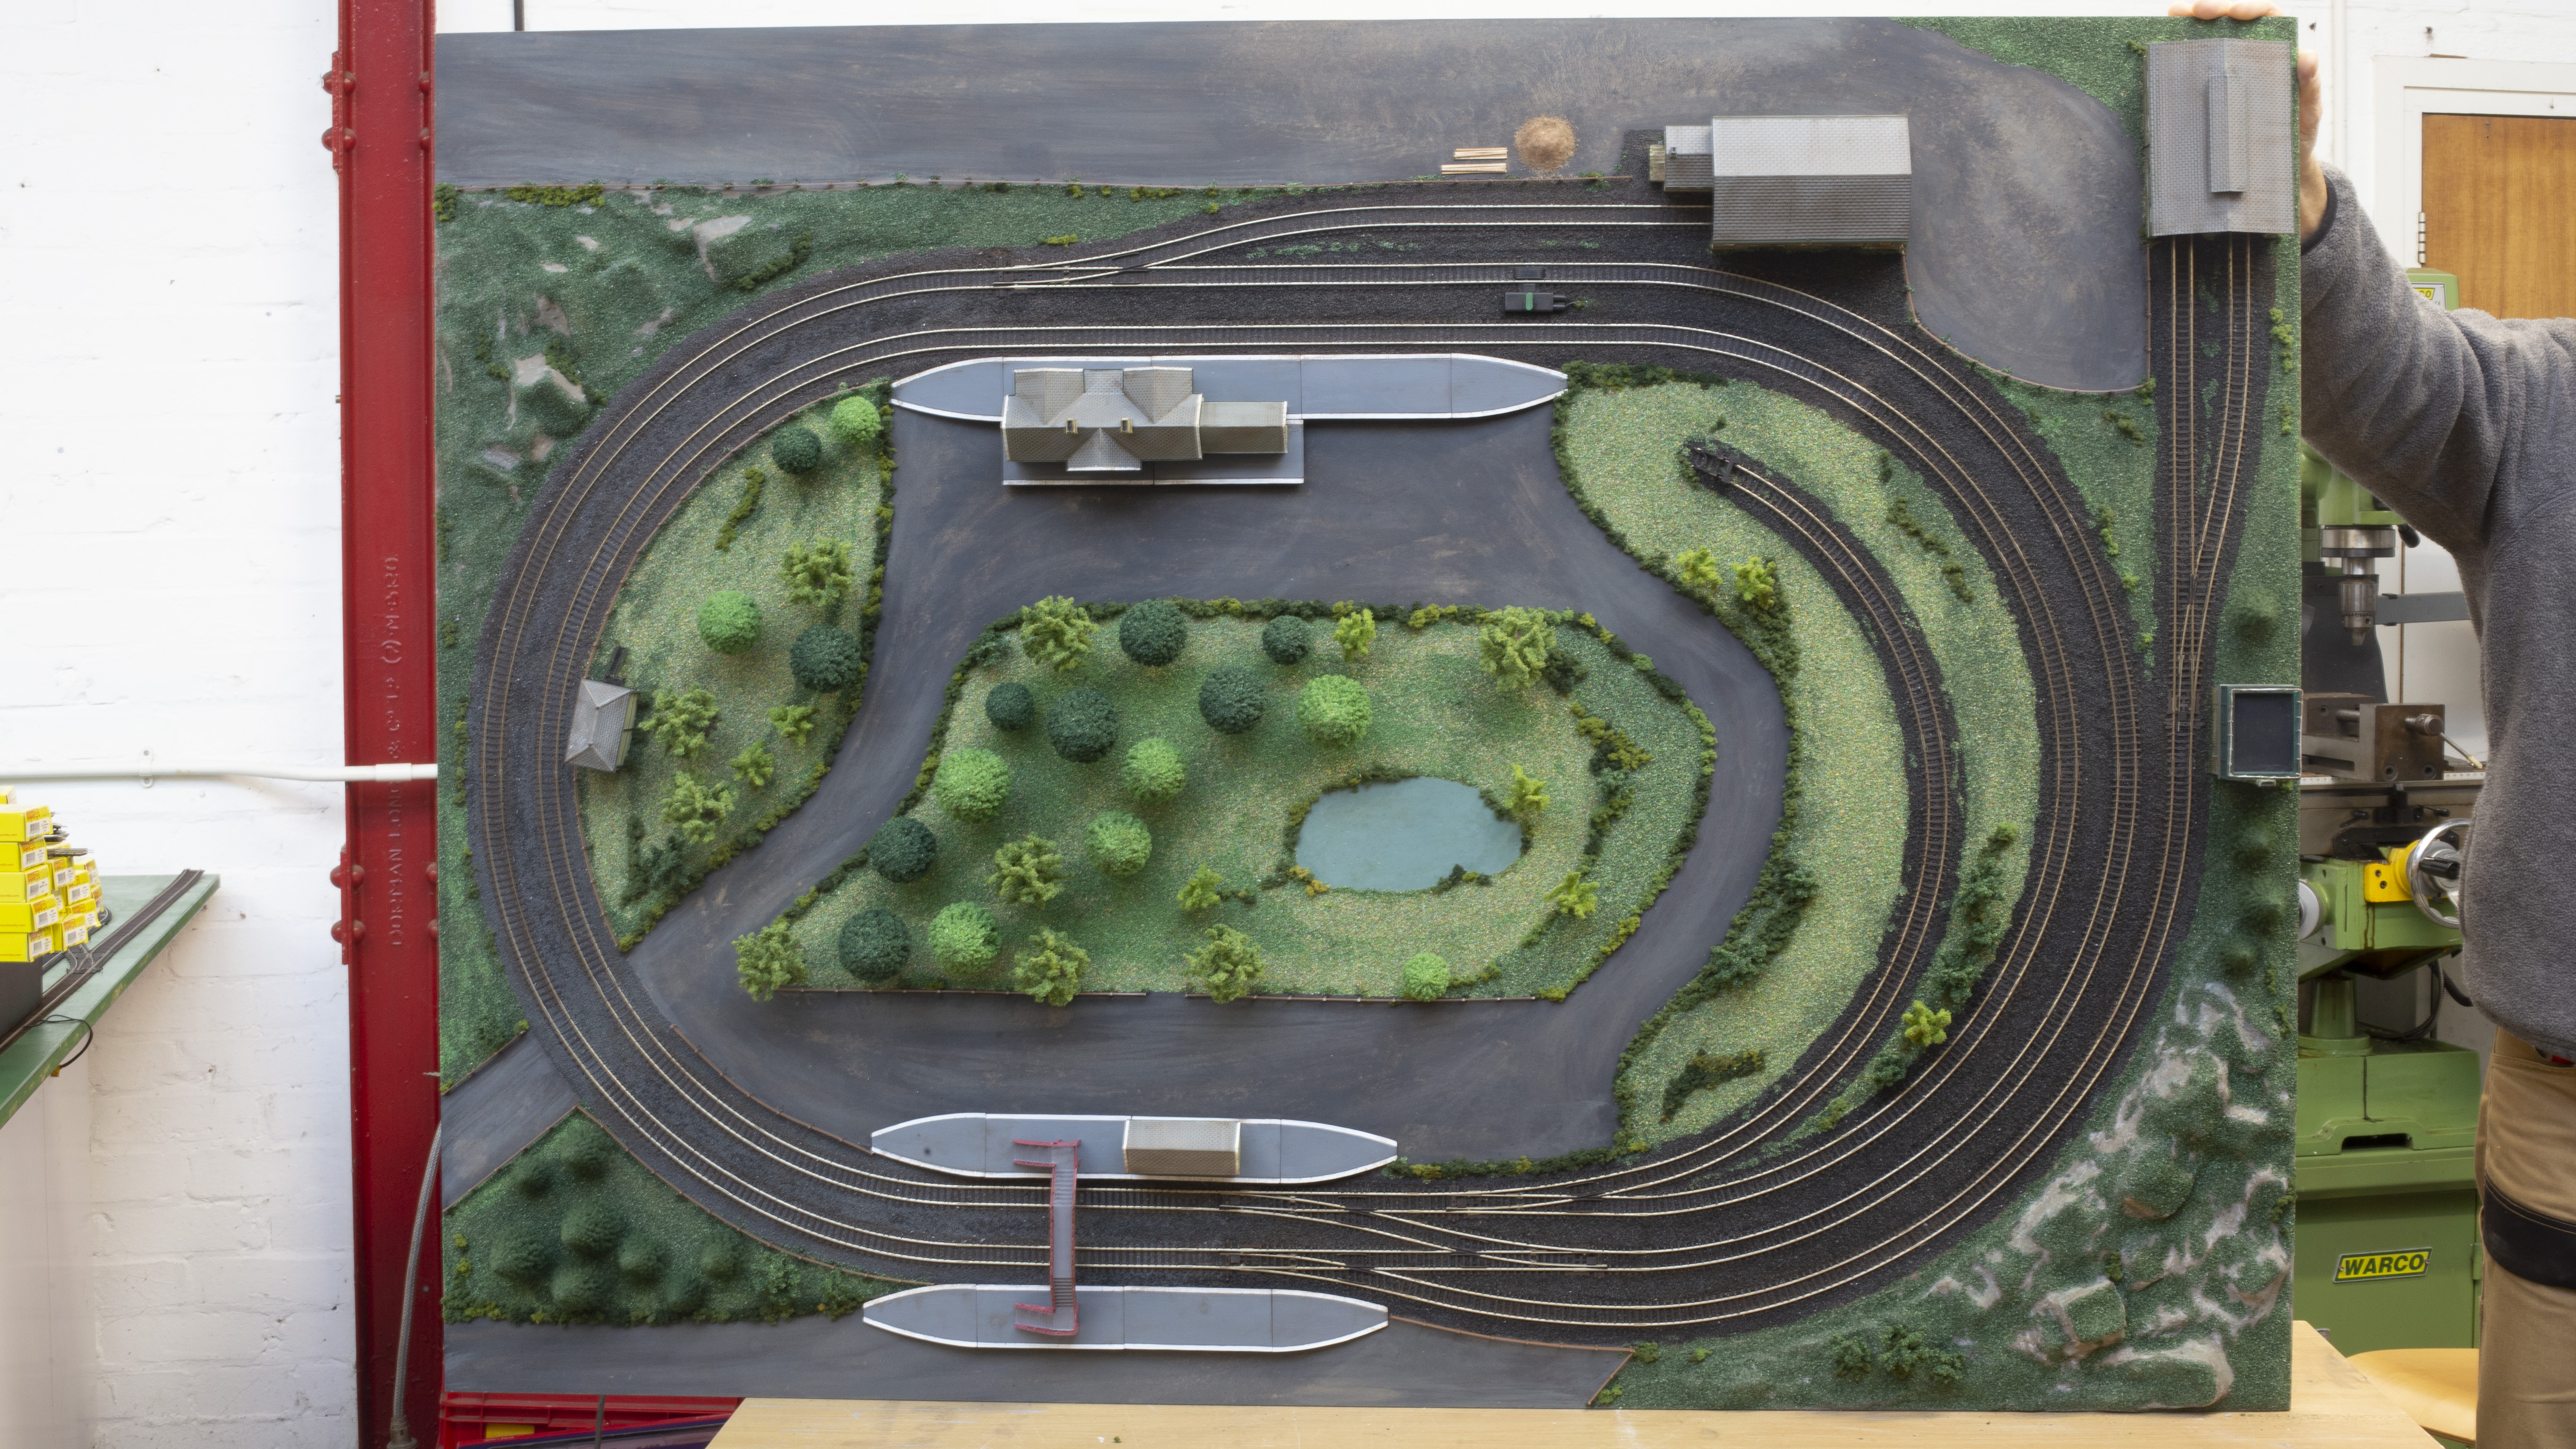
This will almost certainly be determined by where you intend to keep your layout. If you have somewhere you can permanently erect it, like an empty garage or spare room, that’s great, and you can measure up accordingly. The great thing about TT:120, however, is that you can build it on a baseboard that fits under your bed, on top of your wardrobe or any other convenient place you can find. And the smaller scale still incorporates an incredible amount of detail.
Bear in mind that a basic oval of track needs a board at least 2ft 6in x 2ft 6in to sit on, however if you want to fill out your layout with some scenics, we recommend having a baseboard no smaller than 4ft x 2ft 6in.
A single piece of plywood is great for tabletop layouts, but if you don’t have one that’s big enough, you can get several pieces that bolt together, and this can make storage easier. Look for 5mm thickness of plywood or more. Chipwood and MDF work too, but they tend to warp, which might damage your layout and models.
Plywood is less likely to warp but it can happen. To prevent this, screw and glue 2” x 1” battens around the bottom edge of the board. Add bracing pieces every 15” and you have a sturdy board that can carry your model railway layout.
Of course, you can lay your track out on a spare table or sideboard if you have one, but we don’t recommend you set up on a carpeted floor. The fibres in the carpet will clog up your locomotive gears and motor and they’ll eventually stop working.
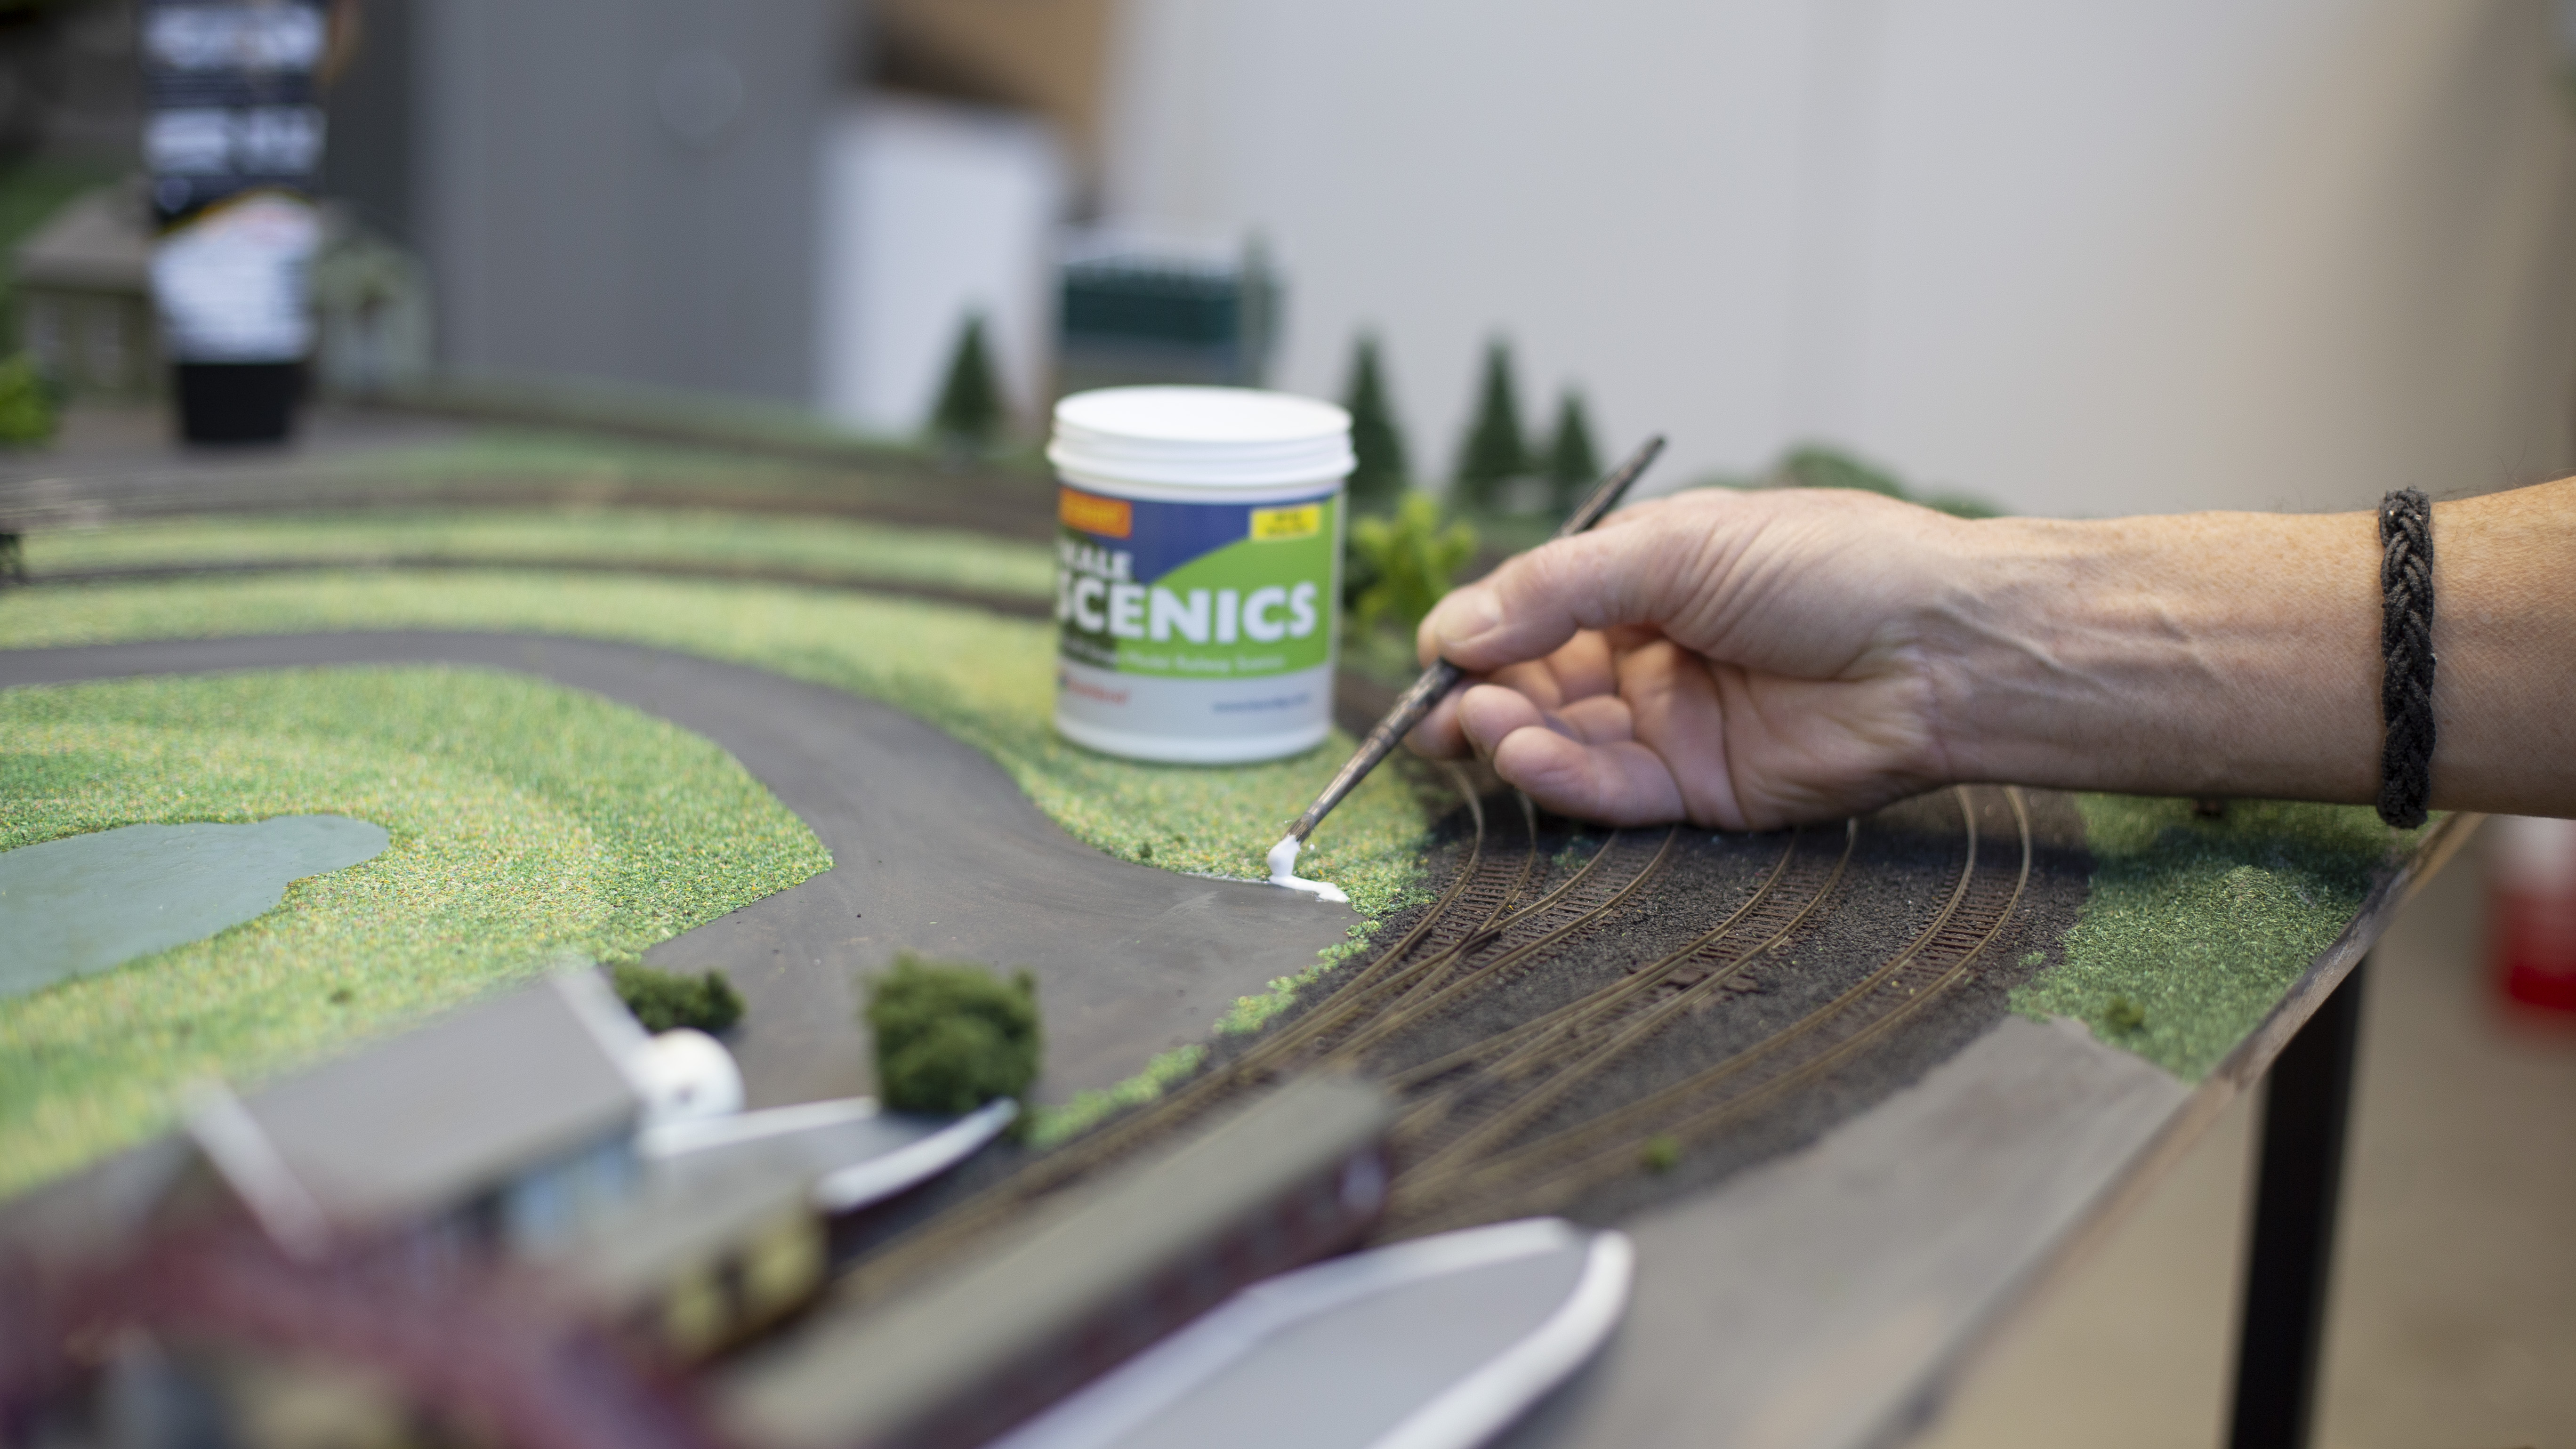
With your baseboard set up, you can paint it to give a more realistic base for your track. Grey is a great colour, as it gives the impression of ballast. Once your paint is dry, you can move on to the next step.
Need a little more help with this bit? We've got some great video guides that may help.
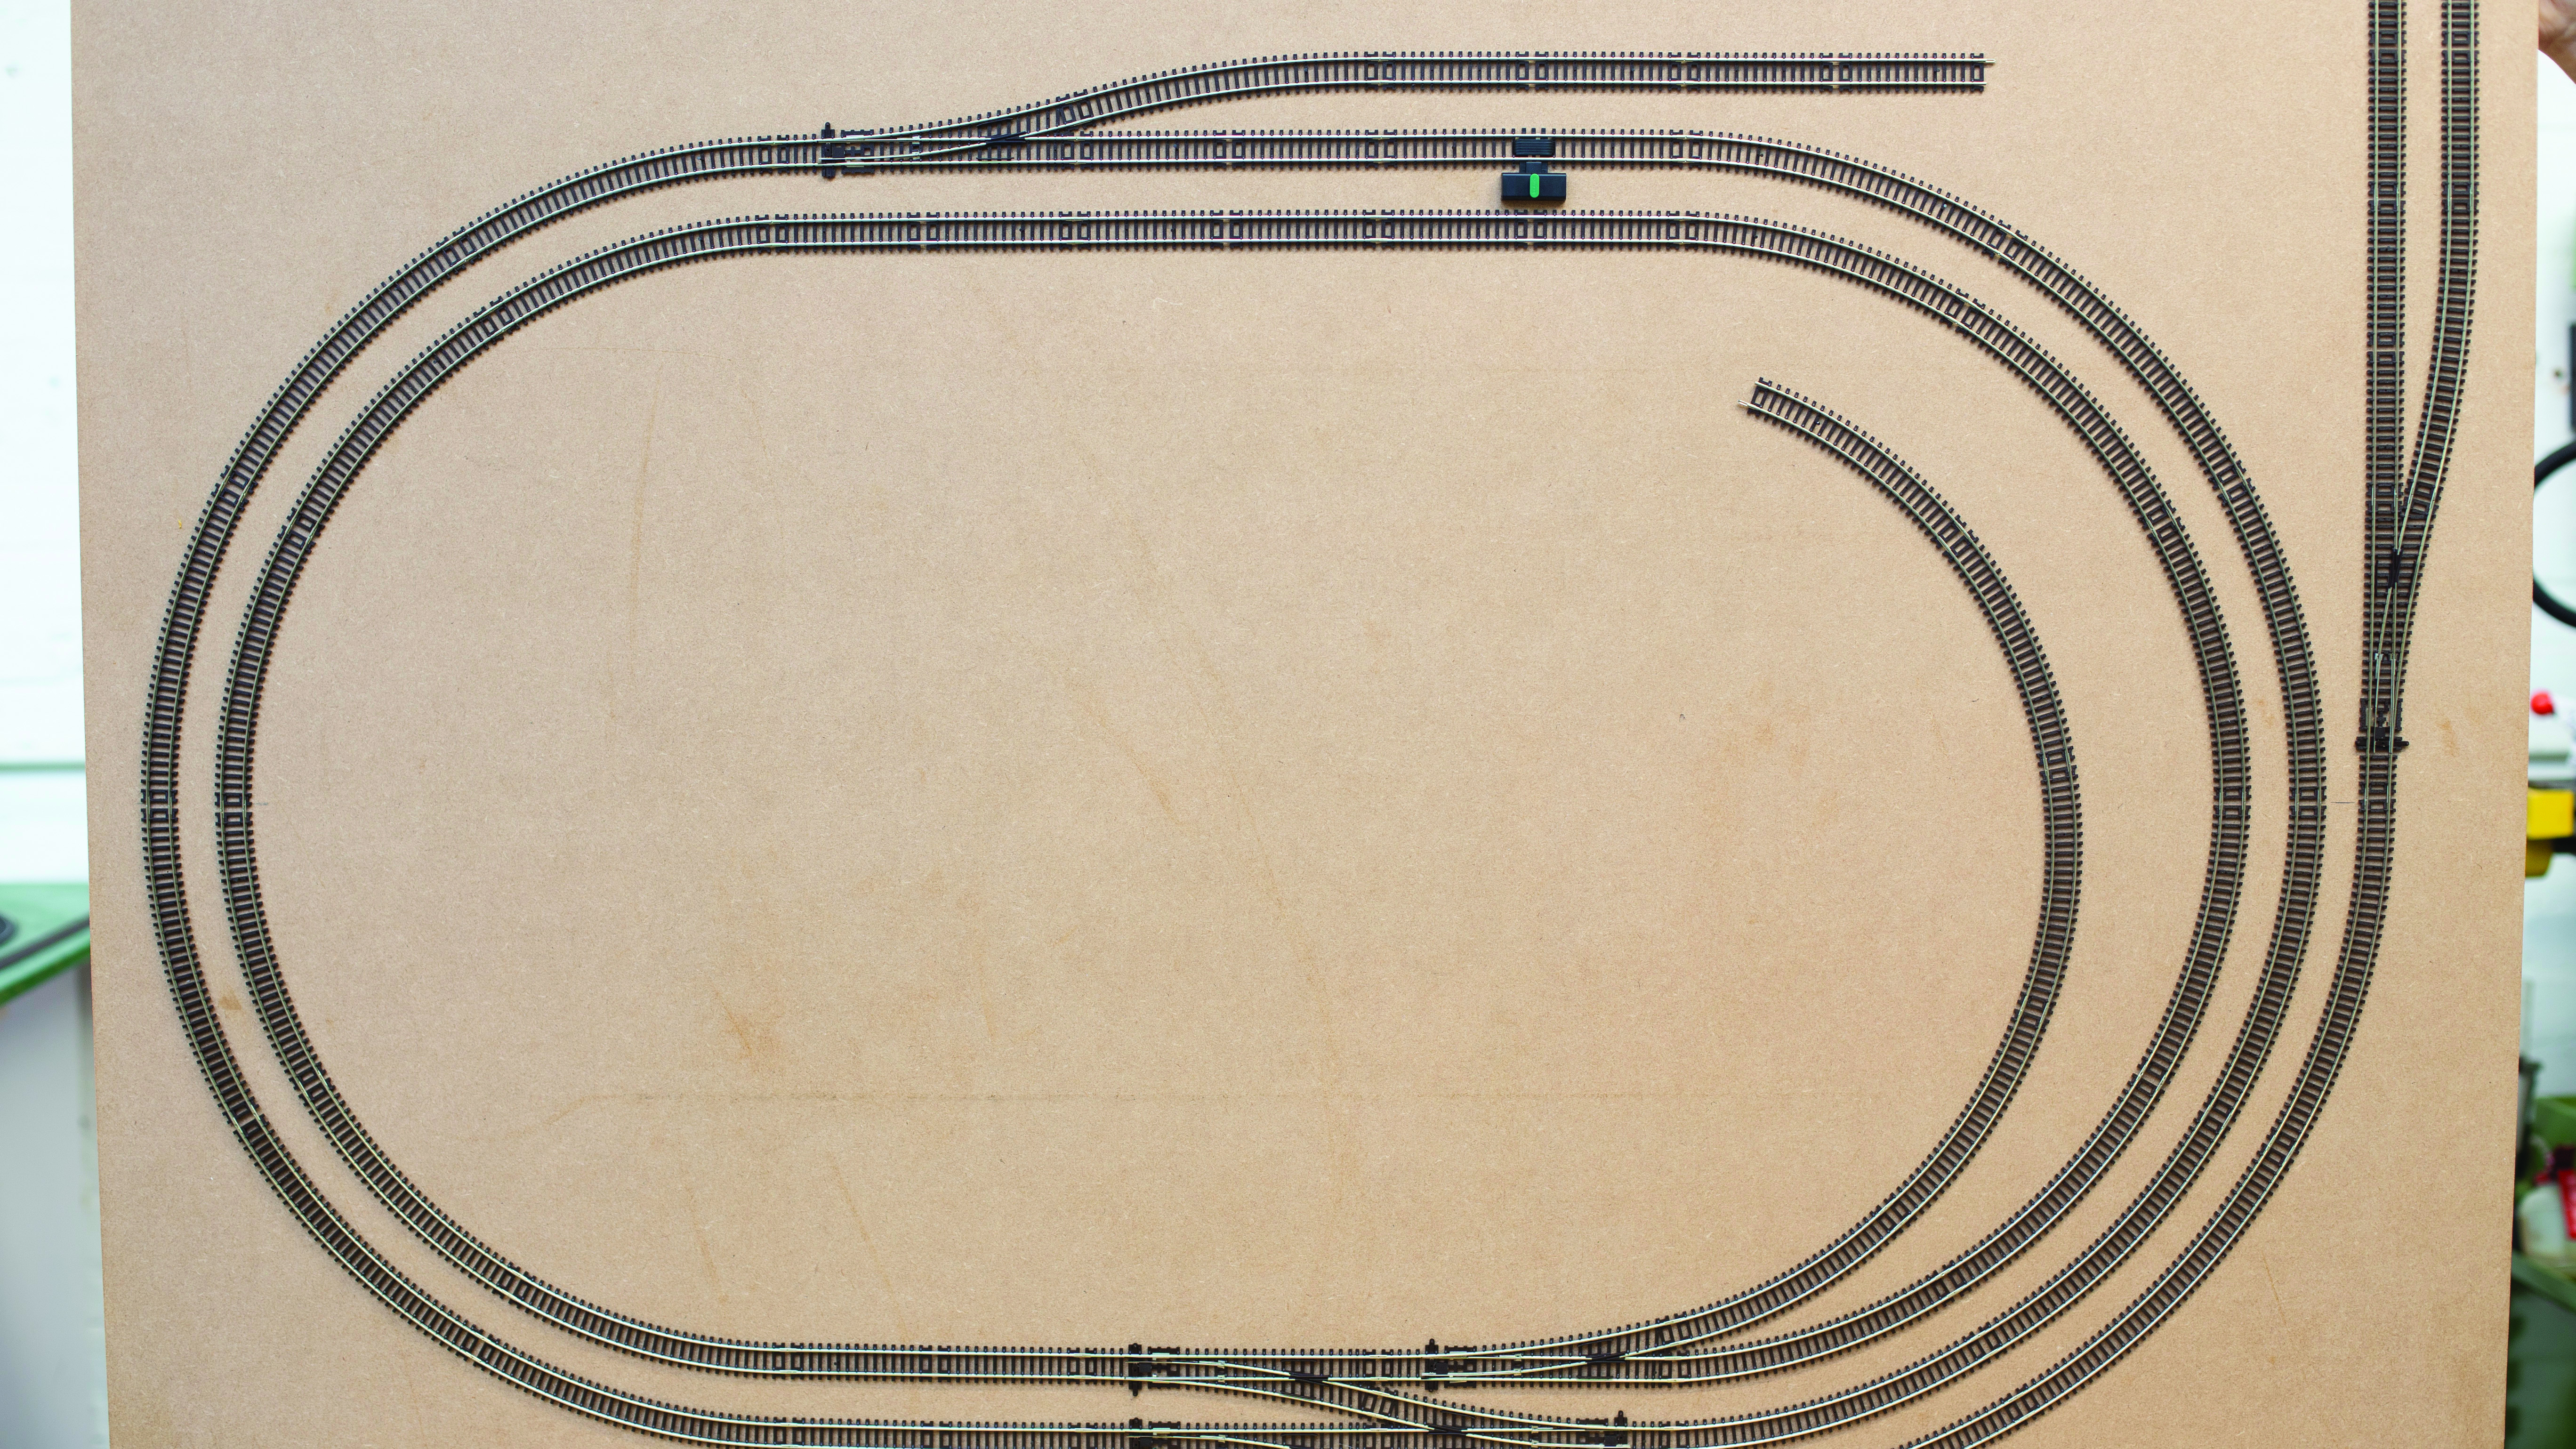
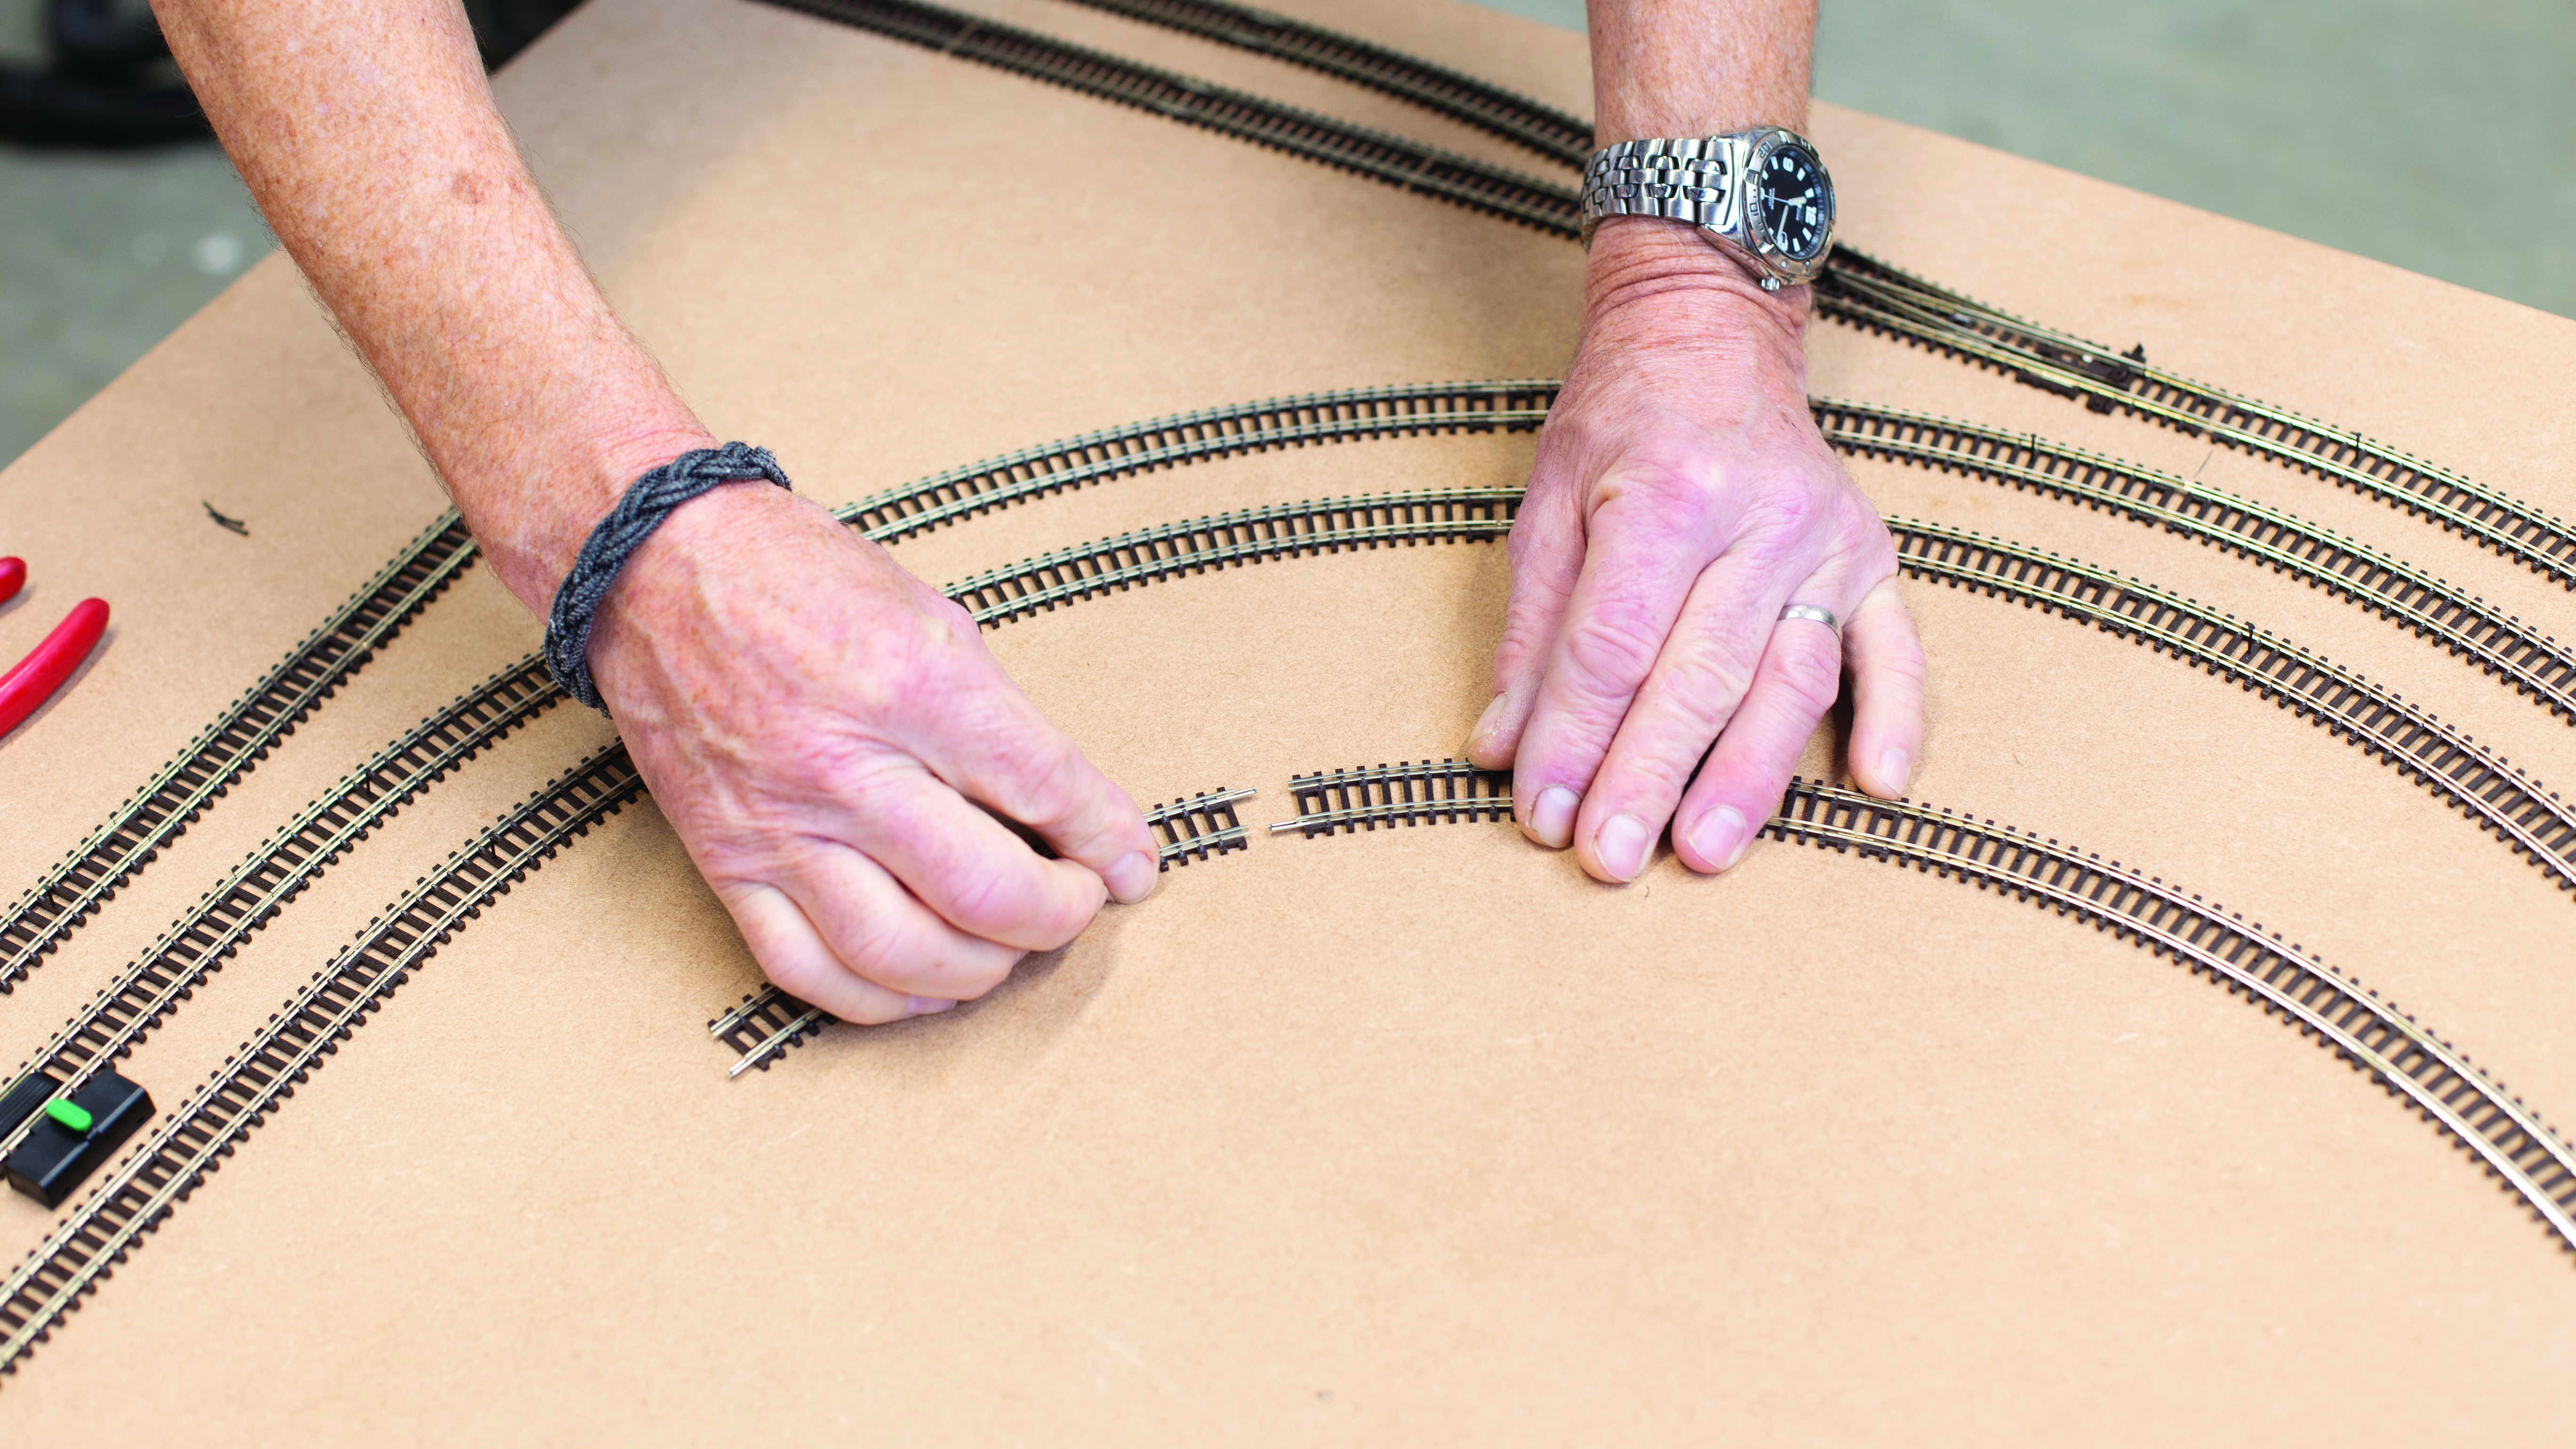
You are now ready to add your track. Our Hornby TT:120 sets are a great place to start your model railway journey, including everything you need for a basic layout. Once you’ve got that set up on your baseboard, secure the track with track pins. These are easy to remove with long nose pliers if you decide to rearrange your track layout.
If you are only setting up temporarily, you can run your locomotives on the track without fixing it with pins.
Track pins go through the holes in the sleepers, but you need to work very gently to avoid bending or breaking the pin. Using long nose pliers and a hammer to get the pin most of the way is a good idea, and then finish the job with a pin pusher, ensuring it is flush with the sleeper. You don’t need to put a pin in every hole, but a few strategically placed pins will do the job.
Many of our TT:120 sets come with at least one power straight, so you can plug controller wires into them. It’s a great idea to drill a hole in the baseboard for the wires to go through so they are safely out of the way. You can then tape the wires to the board underneath, so they don’t get snagged.
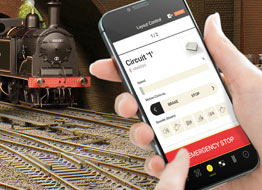
And just like that, you’re ready to run your first train! Gently place your locomotive on the track and connect your rolling stock. Your control options will depend on which set you’ve chosen. If you have a controller, you can get going. However, many of our TT:120 sets are set up for HM7000 control, so you’ll need to download the HM|DC app and follow the instructions to connect to your locomotive and start running.
Once you’ve got the basics down, you can start to build out your layout. Add buildings, scenery, more track and models. We recommend heading to the Hornby forum, where you’ll find lots of helpful advice from the community who are a little further in their TT:120 journey. We also have many articles you can check out here.
At this point, the only limit is your imagination!