Once you’ve chosen a theme, set a budget and have an idea of what you want to achieve with your model railway layout (read more about that here), the real work begins! Read on to discover how to start on your modelling journey – the fun is just beginning!
It’s a good idea to plan your layout before you get started. How much space you need will depend on the gauge you’ve chosen.
The minimum space requirement for a 00-gauge railway is 6’x4’, while TT;120 modellers only need 3’x2’. If you can allocate a little more space, though, it gives you room to expand when you are ready.
With that decided, you’ll need to decide on a base. It’s important to get this right, as it will affect how well your model trains run, the viewing height and how easy your layout is to transport.
We recommend a solid sheet of plywood, around 5mm thick or more. Chipwood and MDF are other suitable options. To prevent your board from warping, you need to screw 2” x 1” battens around the bottom edge of the board. Add bracing pieces at regular intervals to create a sturdy finish.
You can also just lay your model railway out on a spare table or sideboard if you have space, but you won’t be able to move it all in one piece. And avoid setting up on carpet, as the fibres will play havoc with your locomotive gears.
One of the bonuses of TT:120 is that you can create a layout on a single piece of plywood and slide it under your bed when not in use. For 00 gauge, your set-up will need to be more permanent.
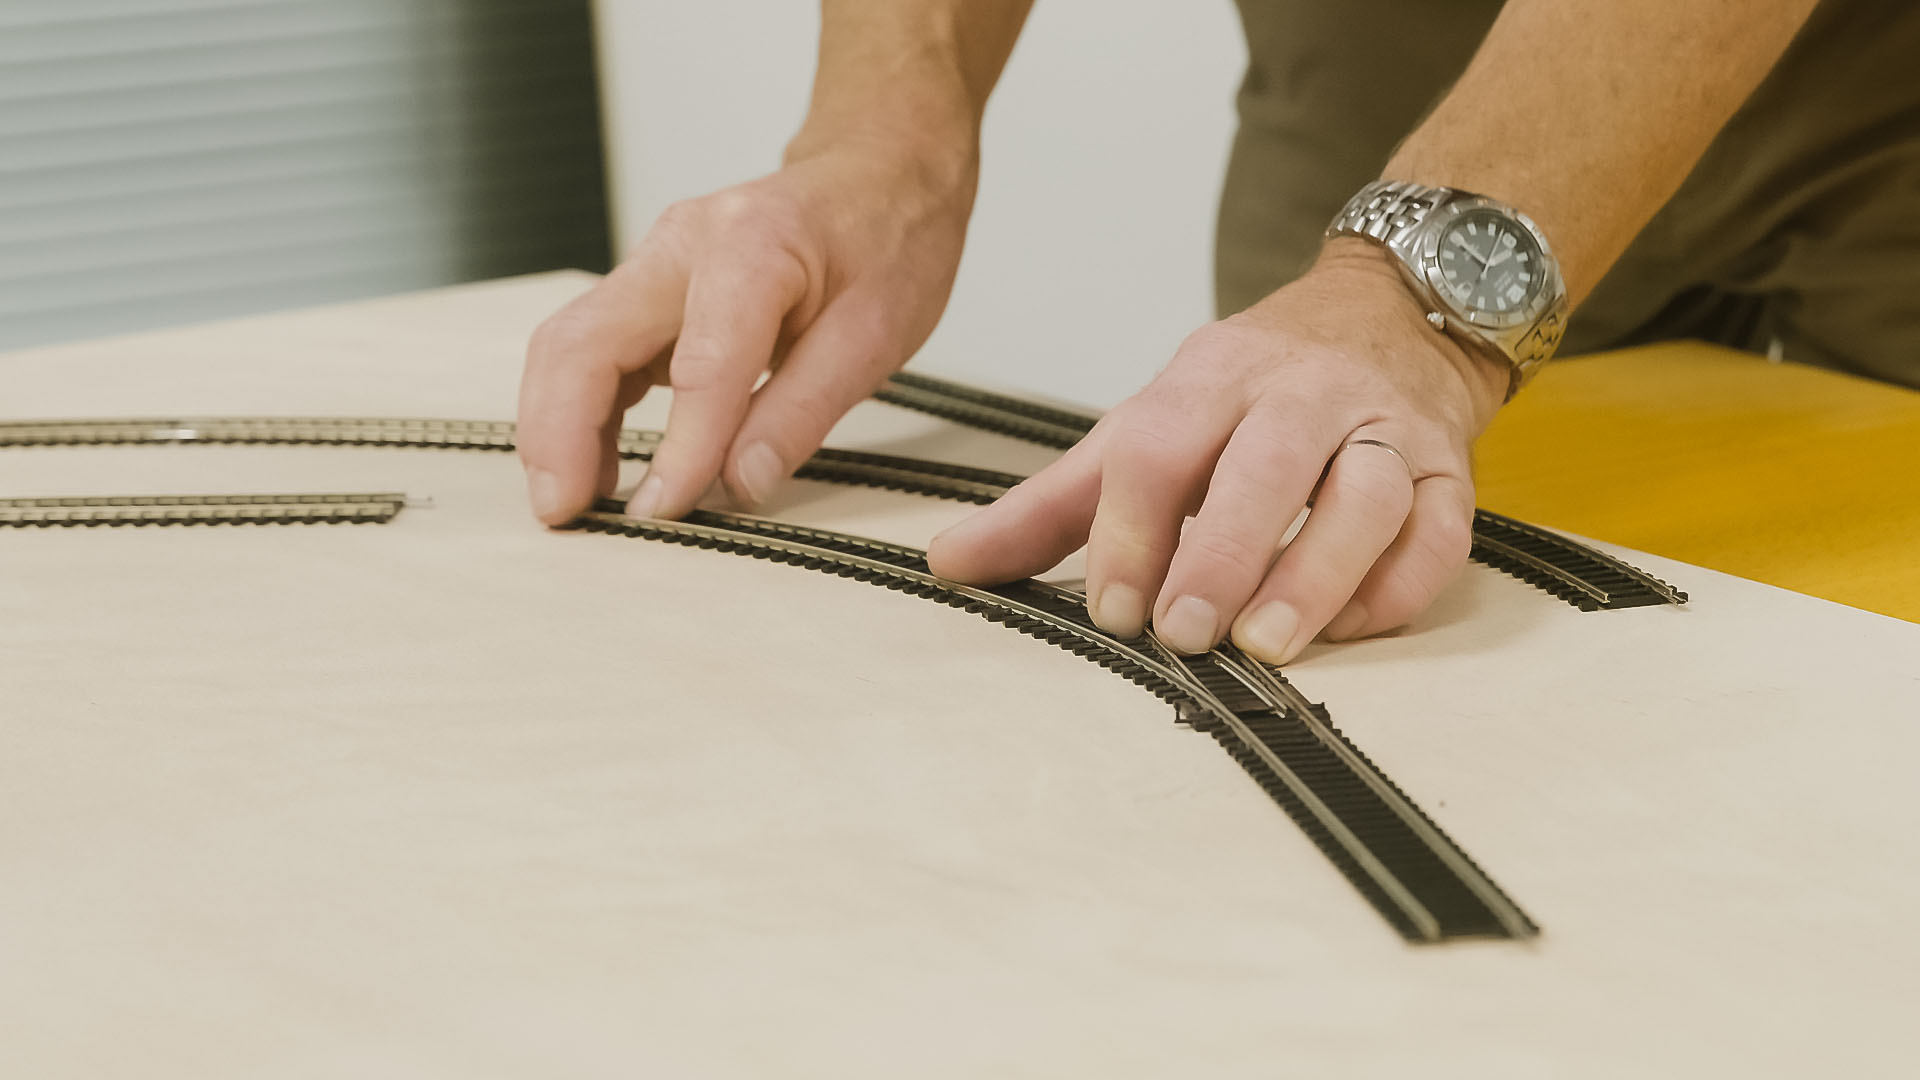
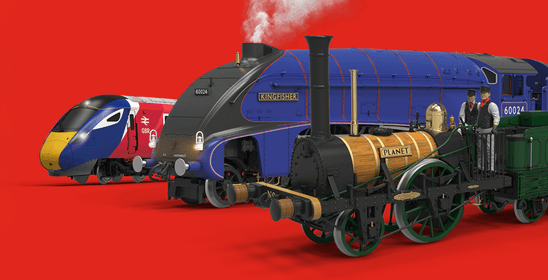
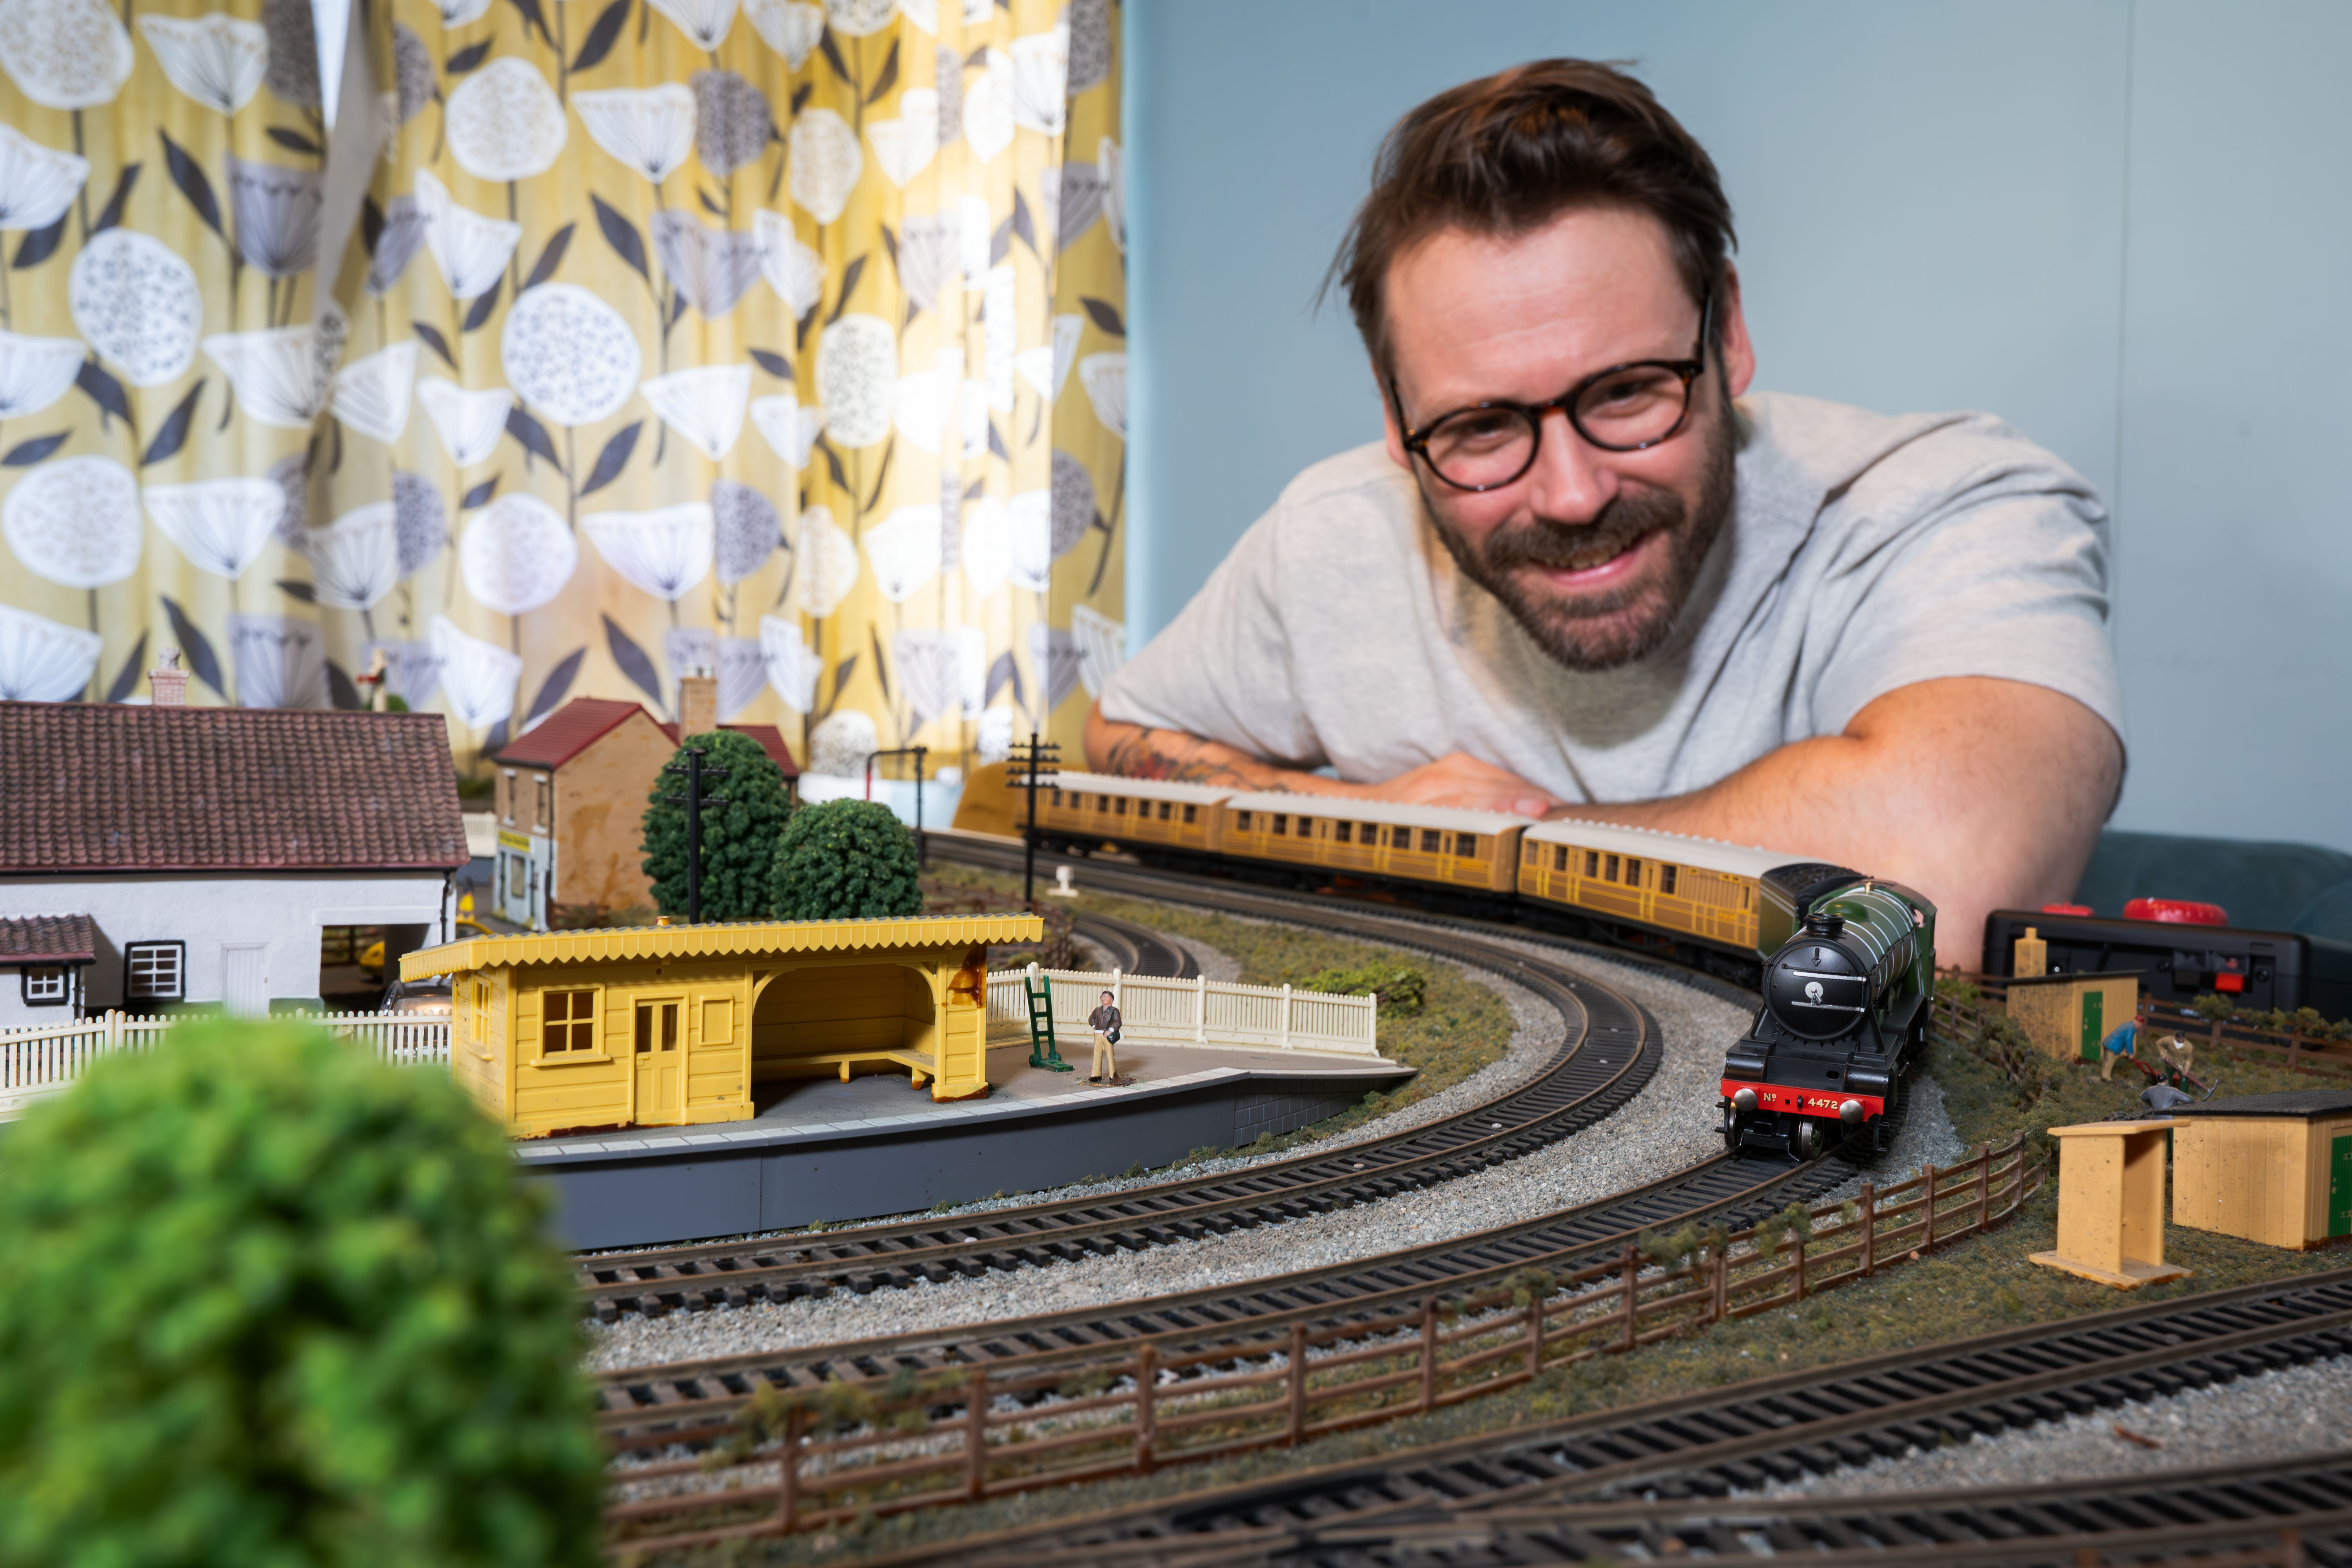
We recommend starting any layout with a model railway set. Most come with a simple oval of track that is easy to put together, but some come with additional track packs so you can start building out your track design.
Lay your oval out on your baseboard and when you’re happy with the position, secure it with track pins. These go through holes in the sleepers, but it is easy to bend or break them, so use long nose pliers or a hammer to gently push the pins most of the way. You can then make it flush with the sleeper with a pin pusher. You should use as many pins as necessary to get a secure fixture, but you probably don’t need a pin in each hole.
If you change your mind, you can remove the pins with your pliers. If you are not ready for the commitment of track pins, you can build a temporary layout without pinning the track into position.
One of these track pieces will be a power straight, which is where your controller connects. To avoid having messy wires getting in your way, drill a hole in the baseboard and run them through, tapping the wires underneath the board for the tidiest finish.
This simple set-up allows you to start running model railway trains right away. But in time, you’ll probably want to build your layout out a bit more. Our Track Extension Packs are numbered, so you can add them in order, or you can buy individual pieces of track to build your own design.
In time, you might want to look at more technical upgrades too. Find out more about our HM7000 system here.
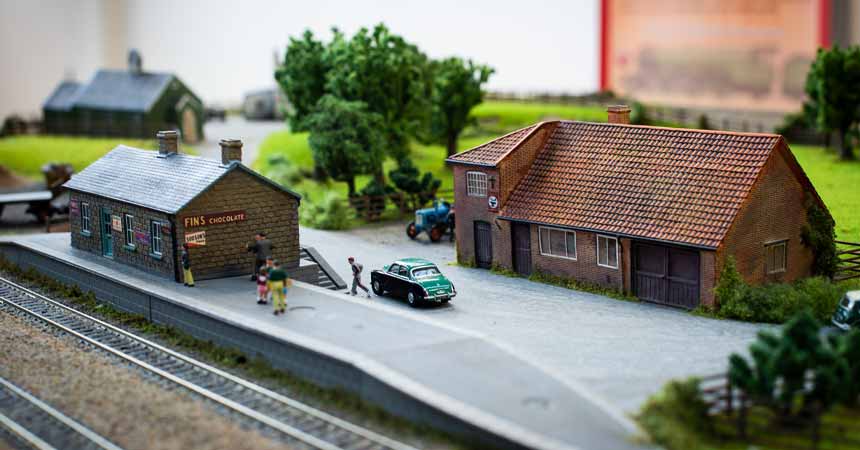
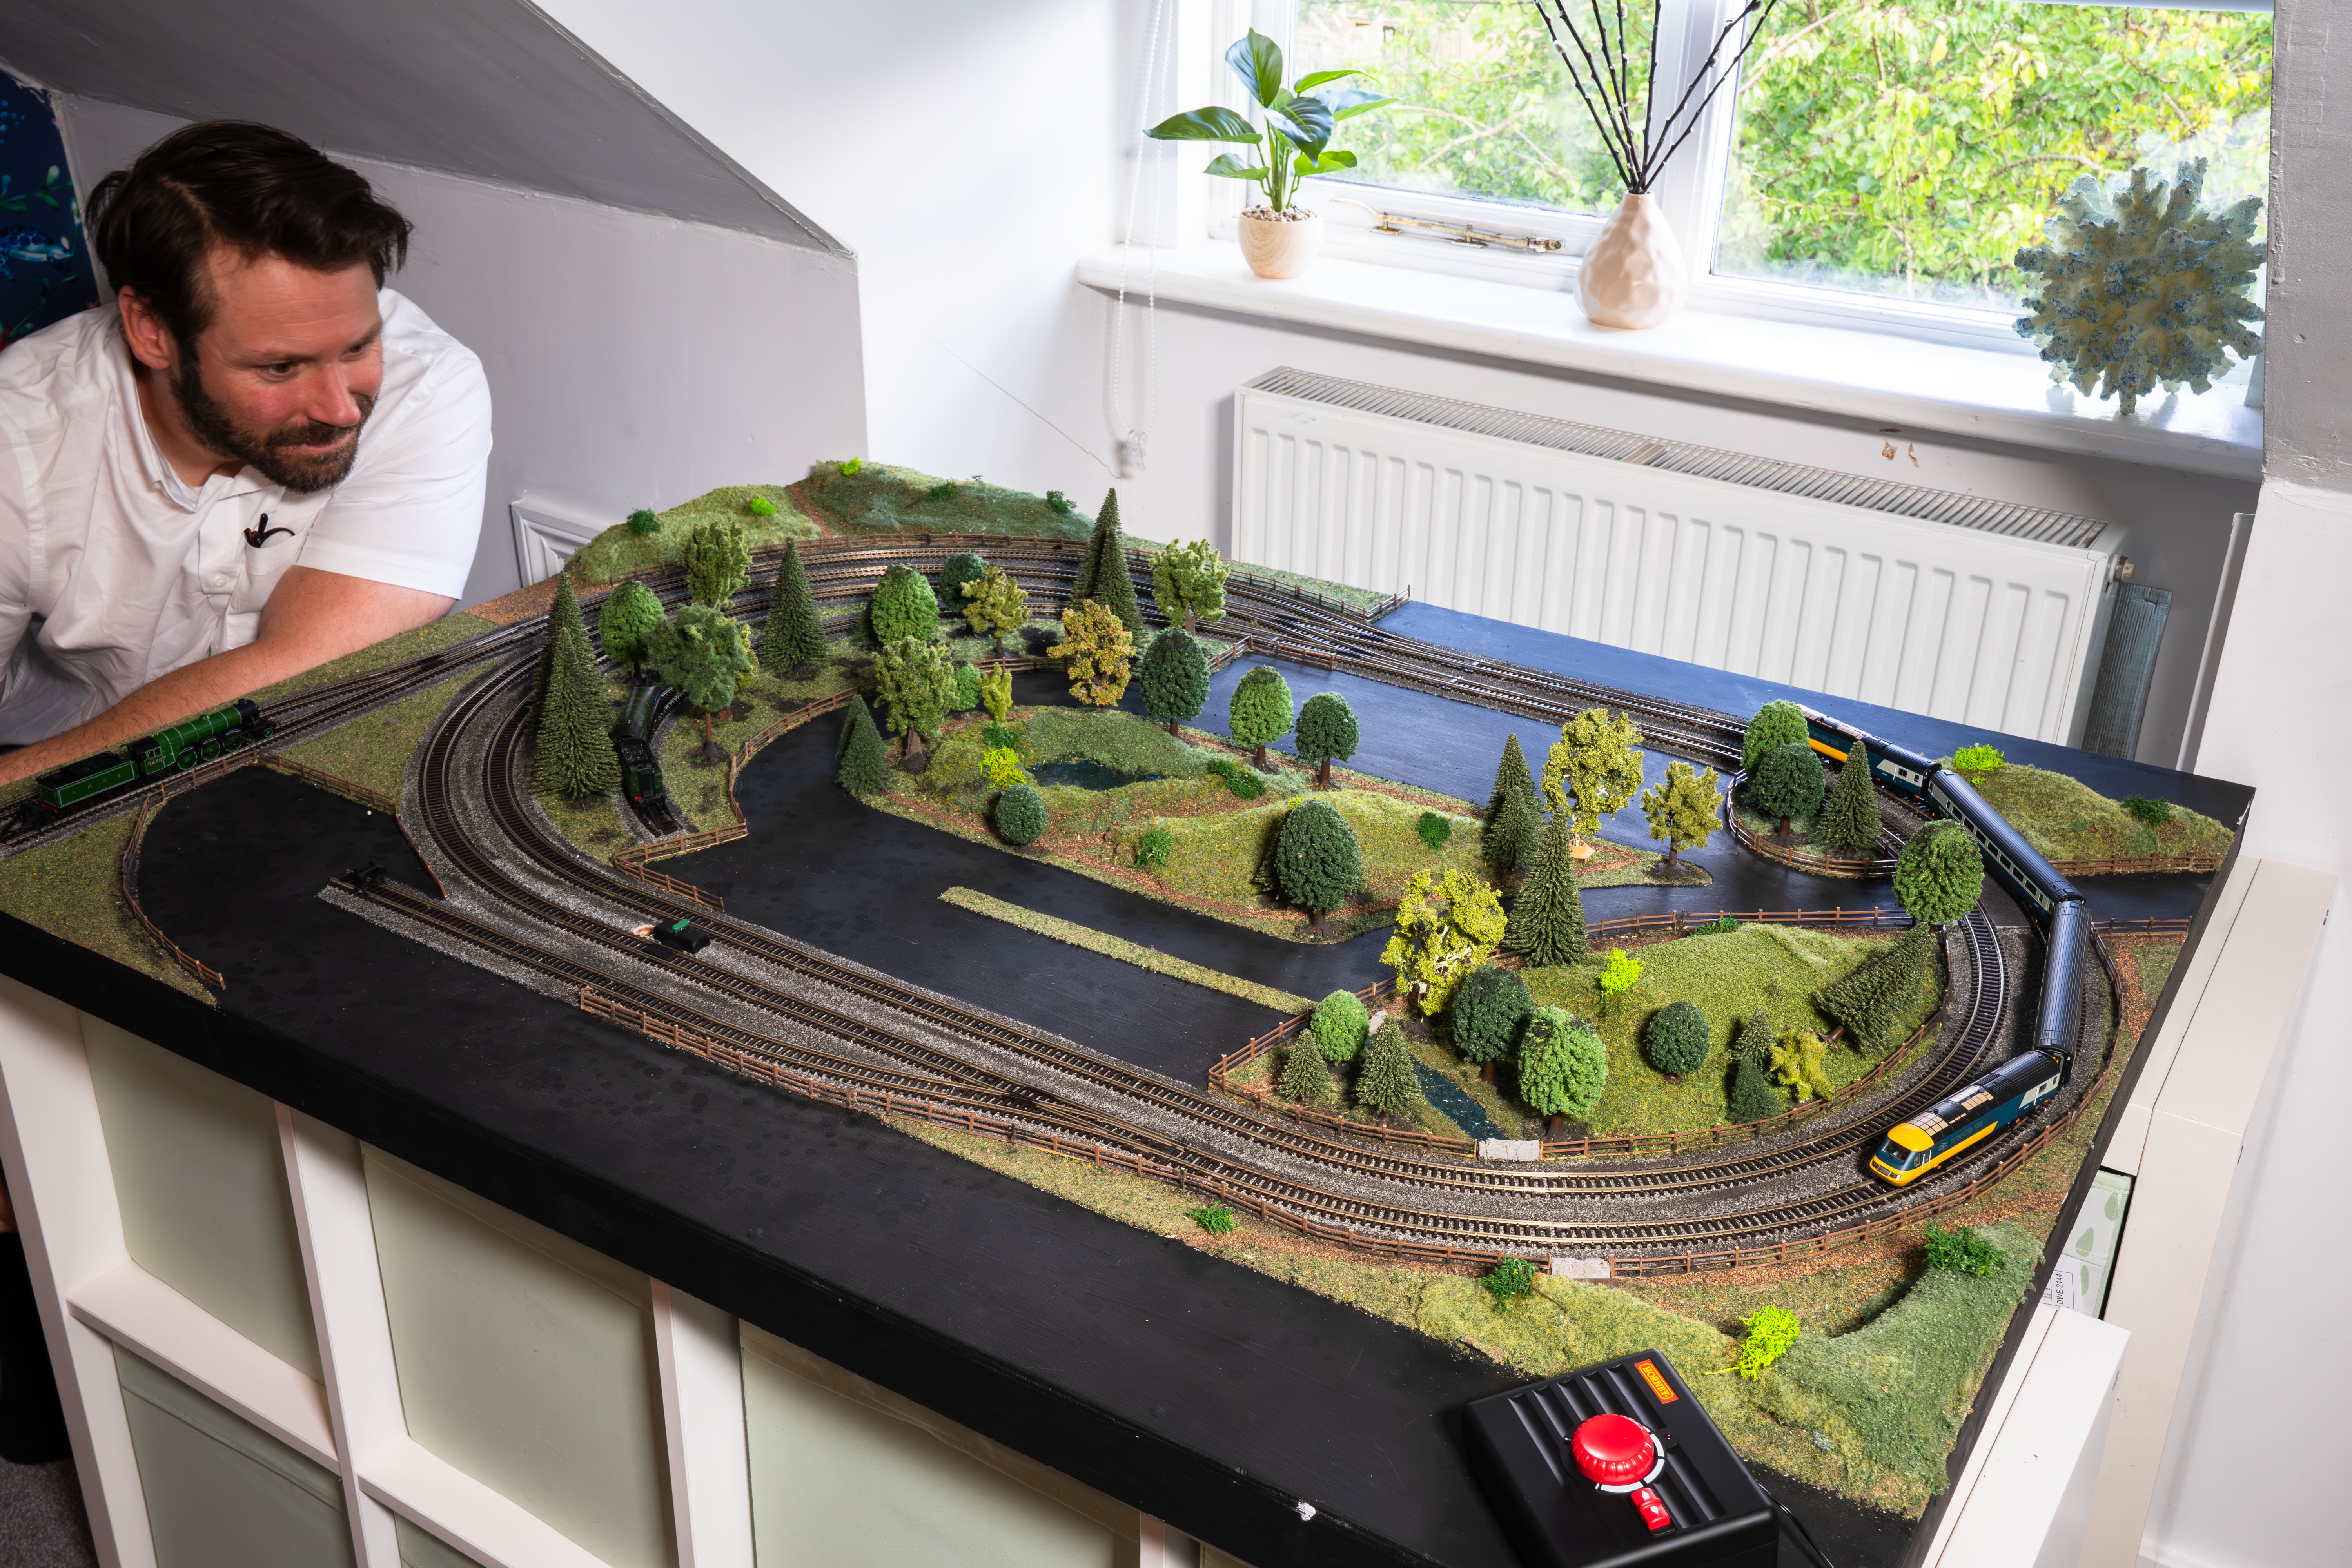
With your track in place, you can start building your scenery. This will always be an ongoing process and even when you think you’re finished, you’ll probably find something that needs changing or updating – it’s all part of the model railway hobby fun! So don’t feel as though you have to rush this.
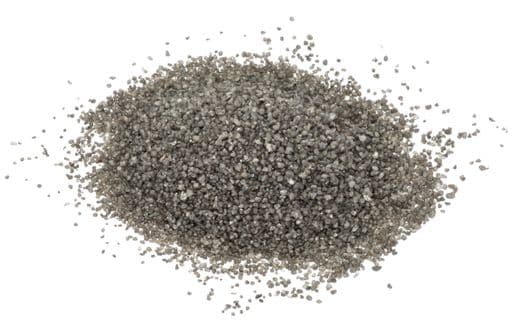
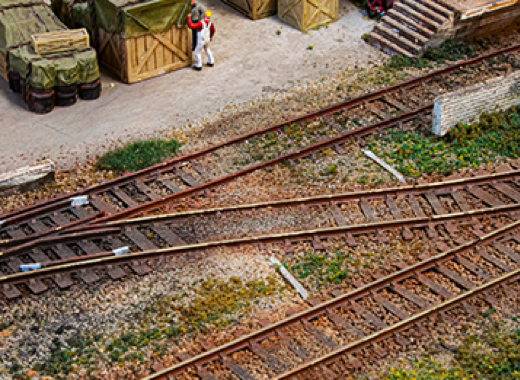
Start with the ballast that surrounds the track, making your railway scene more realistic. Simply sprinkle your SkaleScenic ballast mixture over the sleepers and parallel to the track. Then make a solution of 50% PVA wood glue and 50% water, with a drop of household washing up liquid, and use a pipette to drop it onto the ballast. This technique allows the mixture to seep into the ballast evenly and bond everything together.
Let it dry and then gently brush off any loose mixture into newspaper so you can use it again.
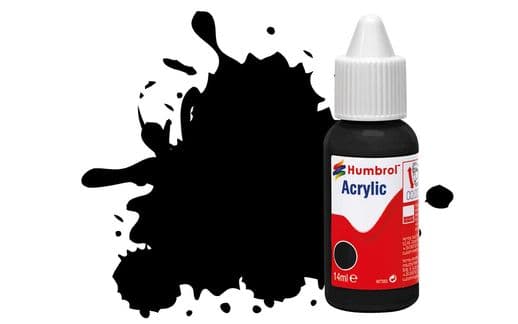
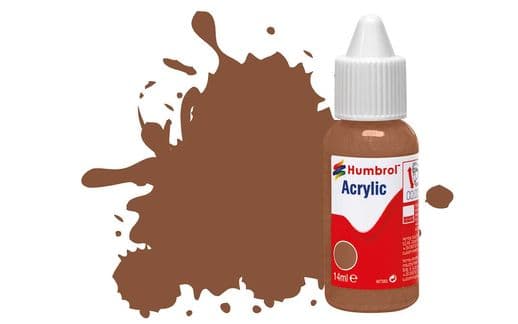
You can paint roads with Humbrol black paint, mixed with water for best results. If you want to create grassy sections, we suggest a base of brown paint and then using a sieve to evenly scatter your scenic material.
You can then explore our Buildings and Accessories section to add the scenic items that fit your theme. This is your chance to flex that creative muscle and build the layout of your model railway dreams!
To keep your model railway fun going for longer, you’ll need to keep your track clean. A track rubber is great for this, allowing you to get in between the sleepers and remove any dust or dirt that could be hiding in there. You can also use Isopropyl Alcohol and a dry, clean cloth. It is a good idea to give your track a wipe down every couple of weeks to prevent any build-up.
While you’re cleaning your track, you should also give your rolling stock wheels a quick wipe too, as this is the primary way that dirt will be transferred around your track. It’s best to use a tiny drop of oil to clean and lubricate the wheels at the same time.
When you are not using your rolling stock, make sure you store it in its original box in a cool, dry space. That will help ensure that it is ready to run as soon as you need it.
The most important thing about building your model railway layout is to enjoy the process. Discover the Hornby shop here or read our article that tells you everything you need to know before you begin your model railway journey for more information before you get started.